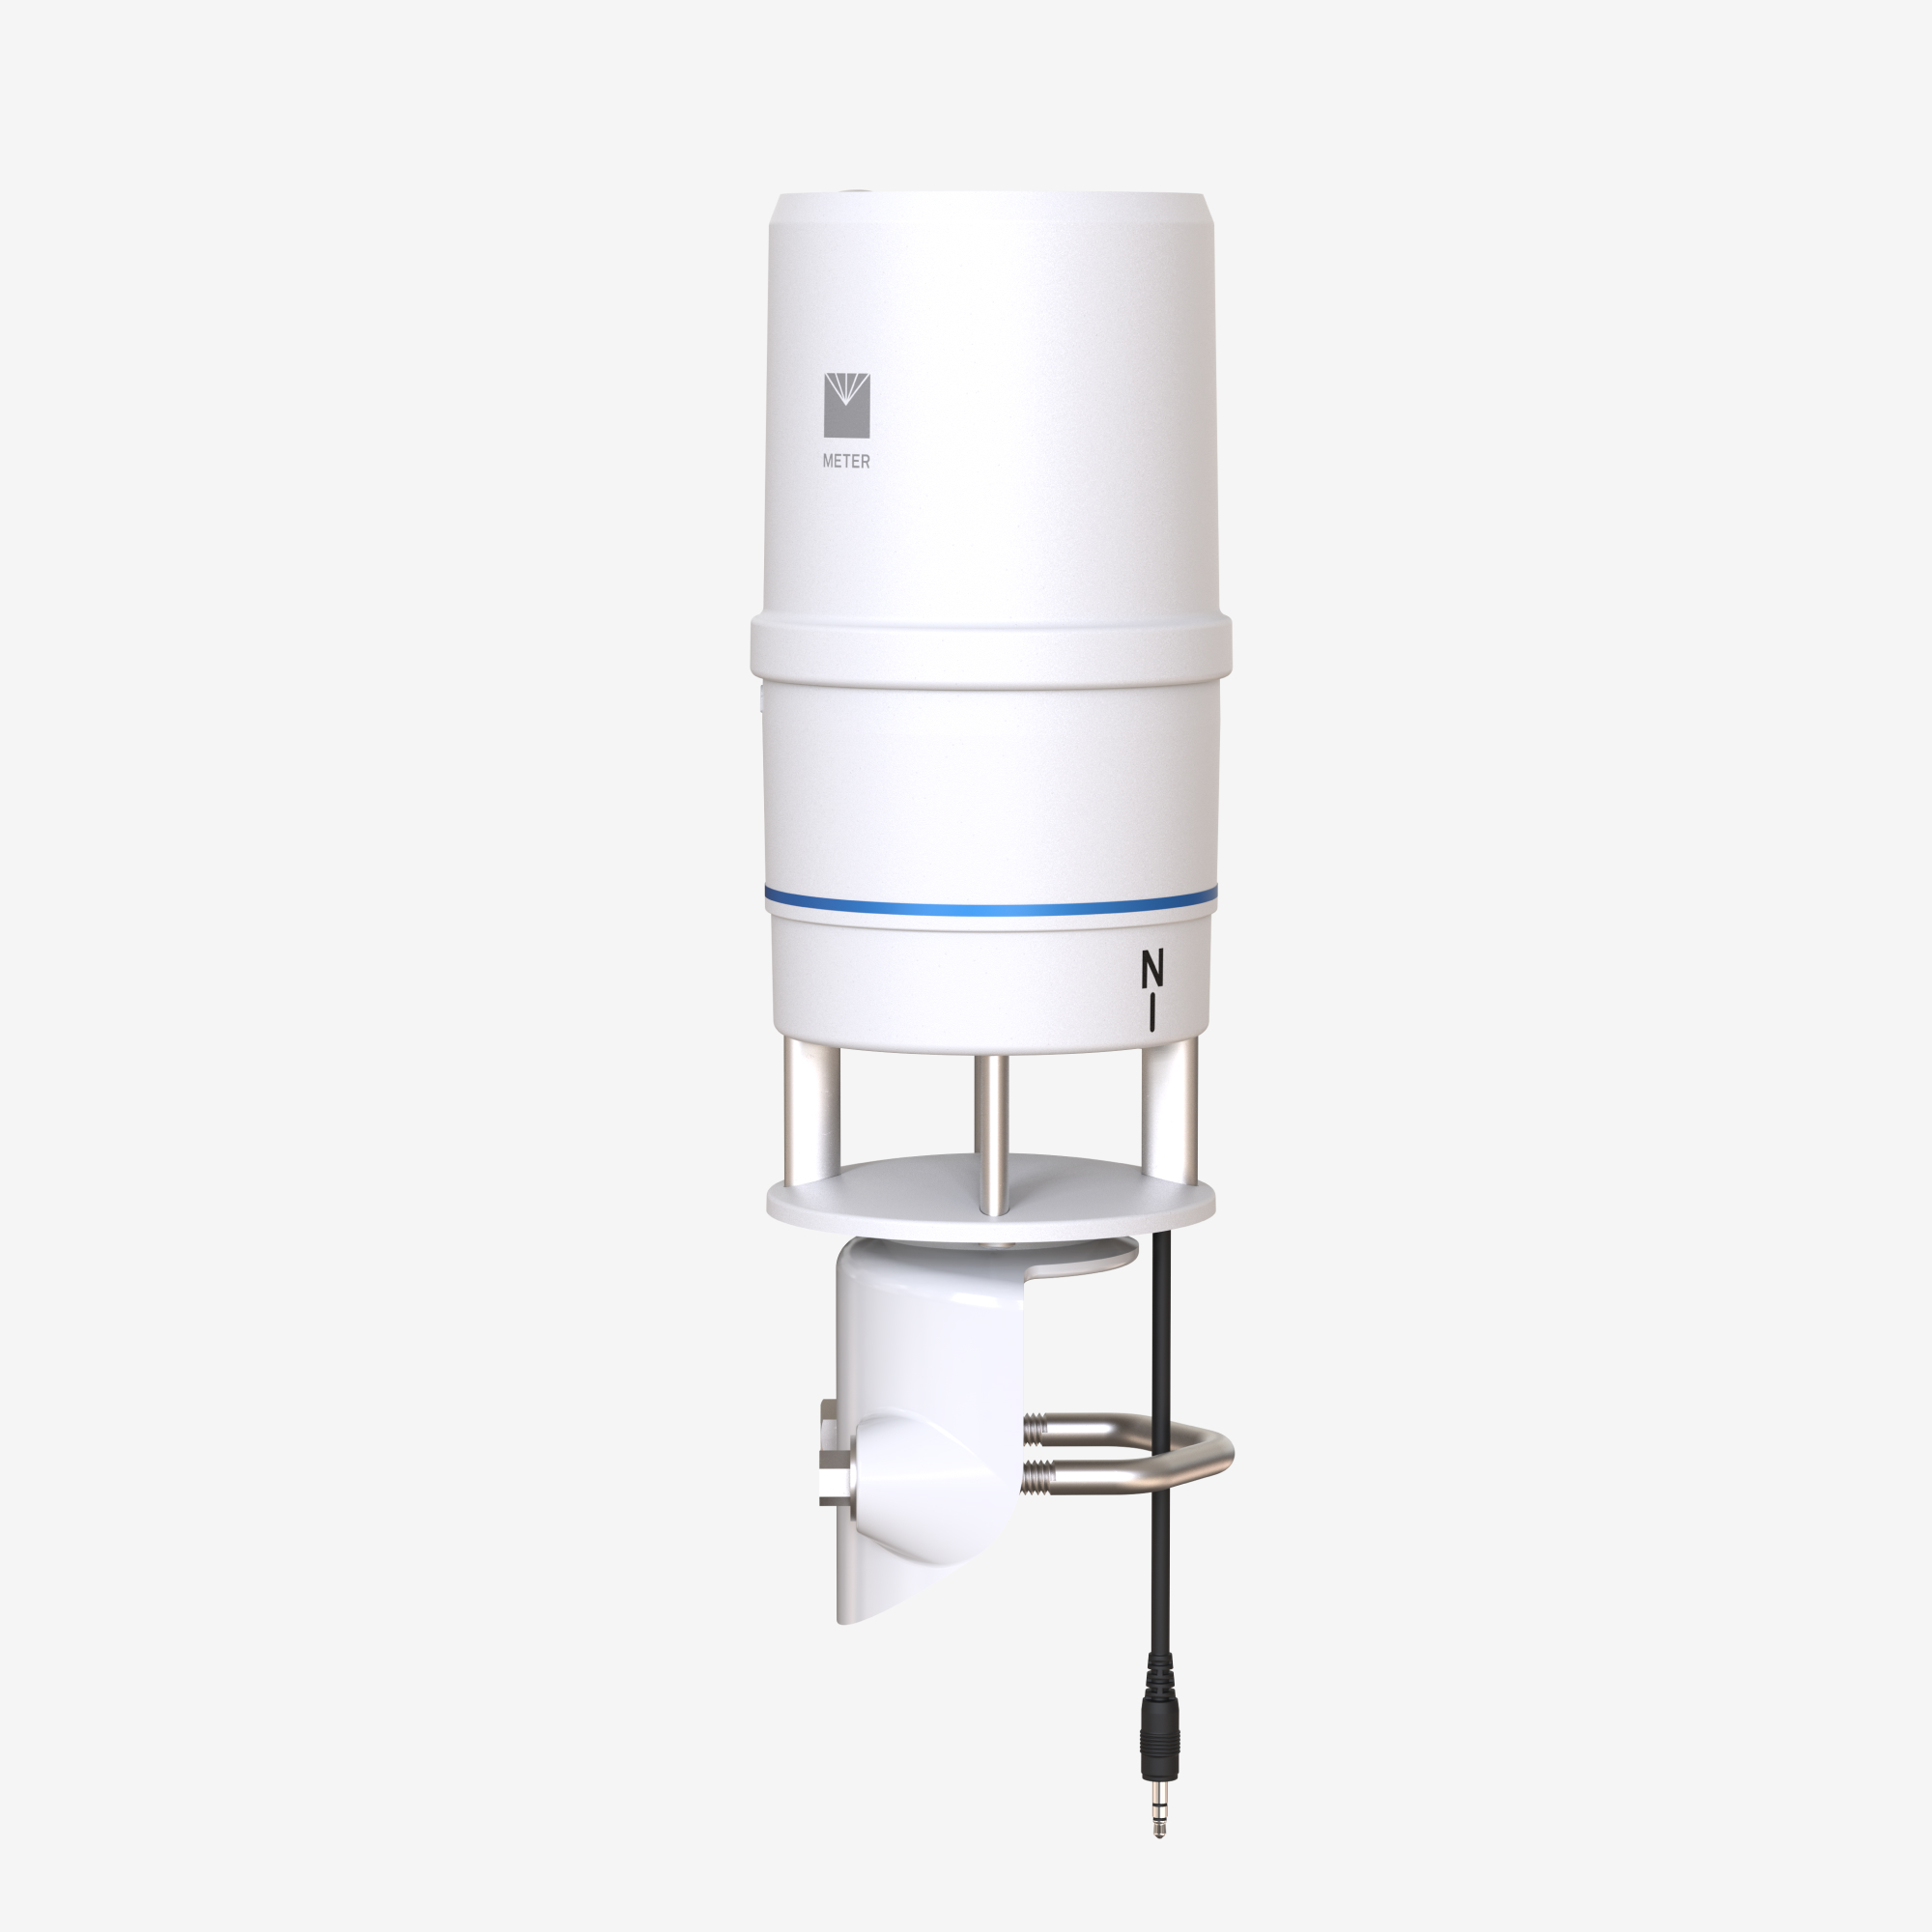
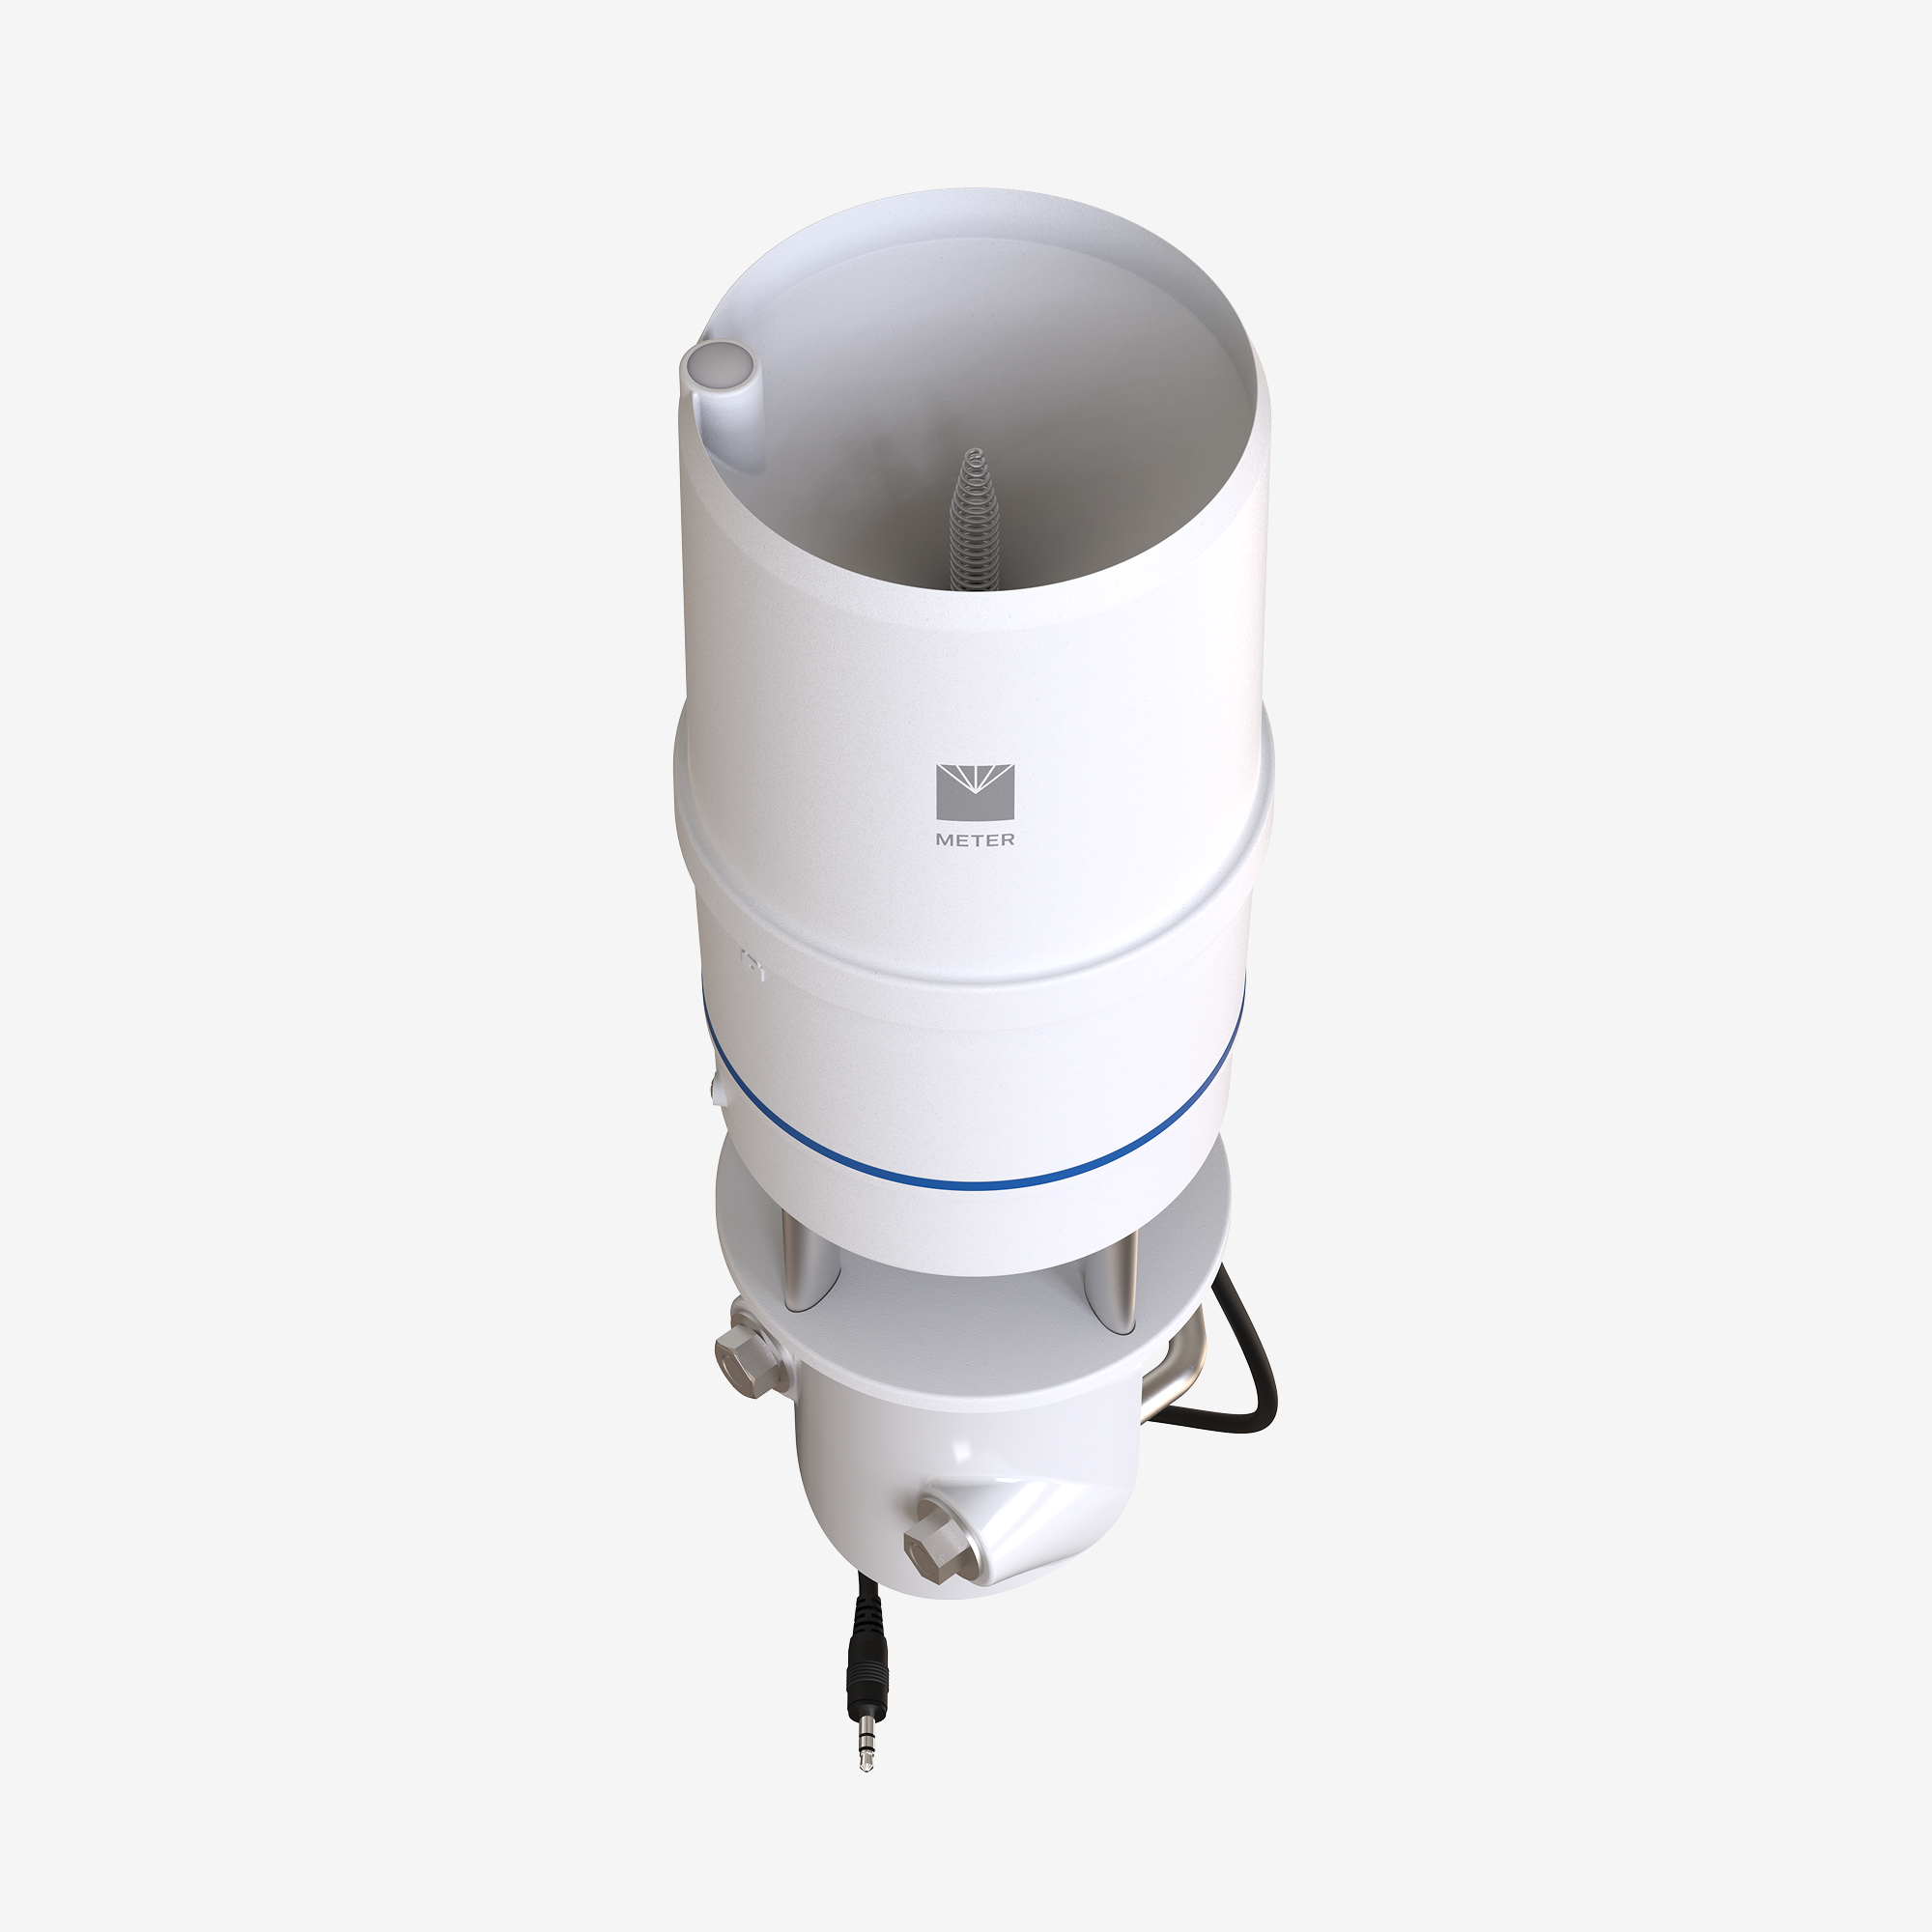
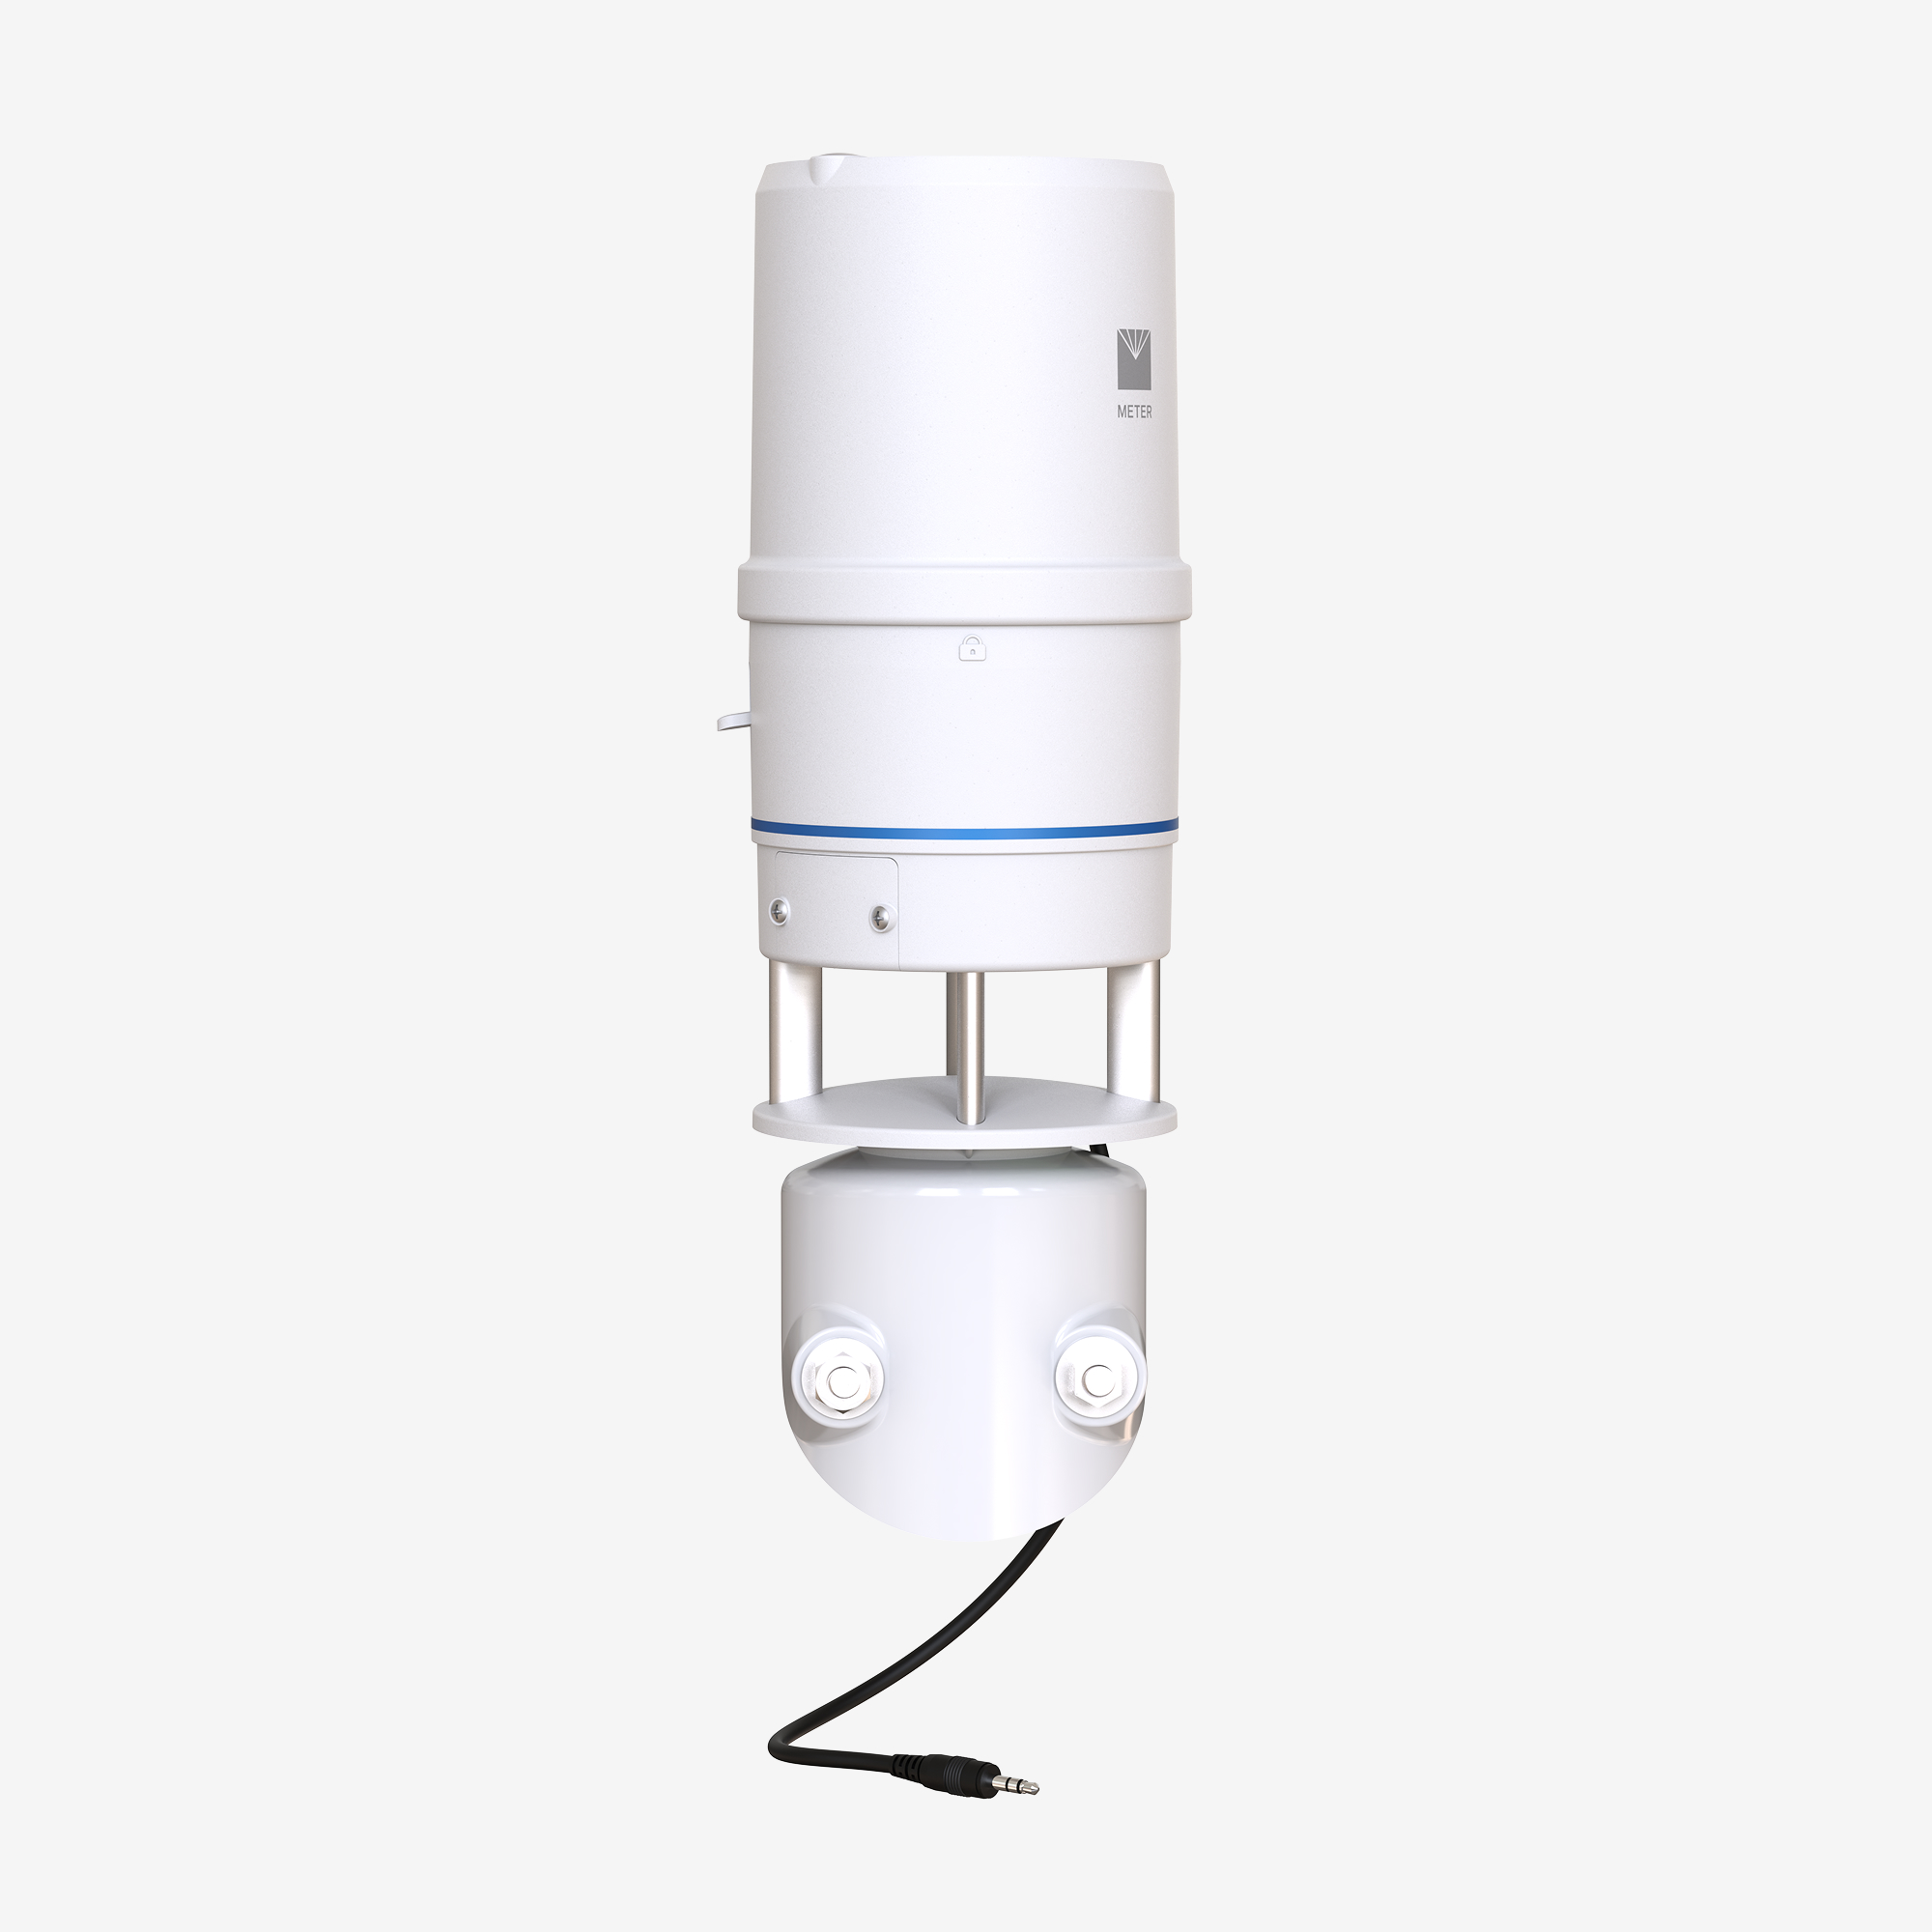
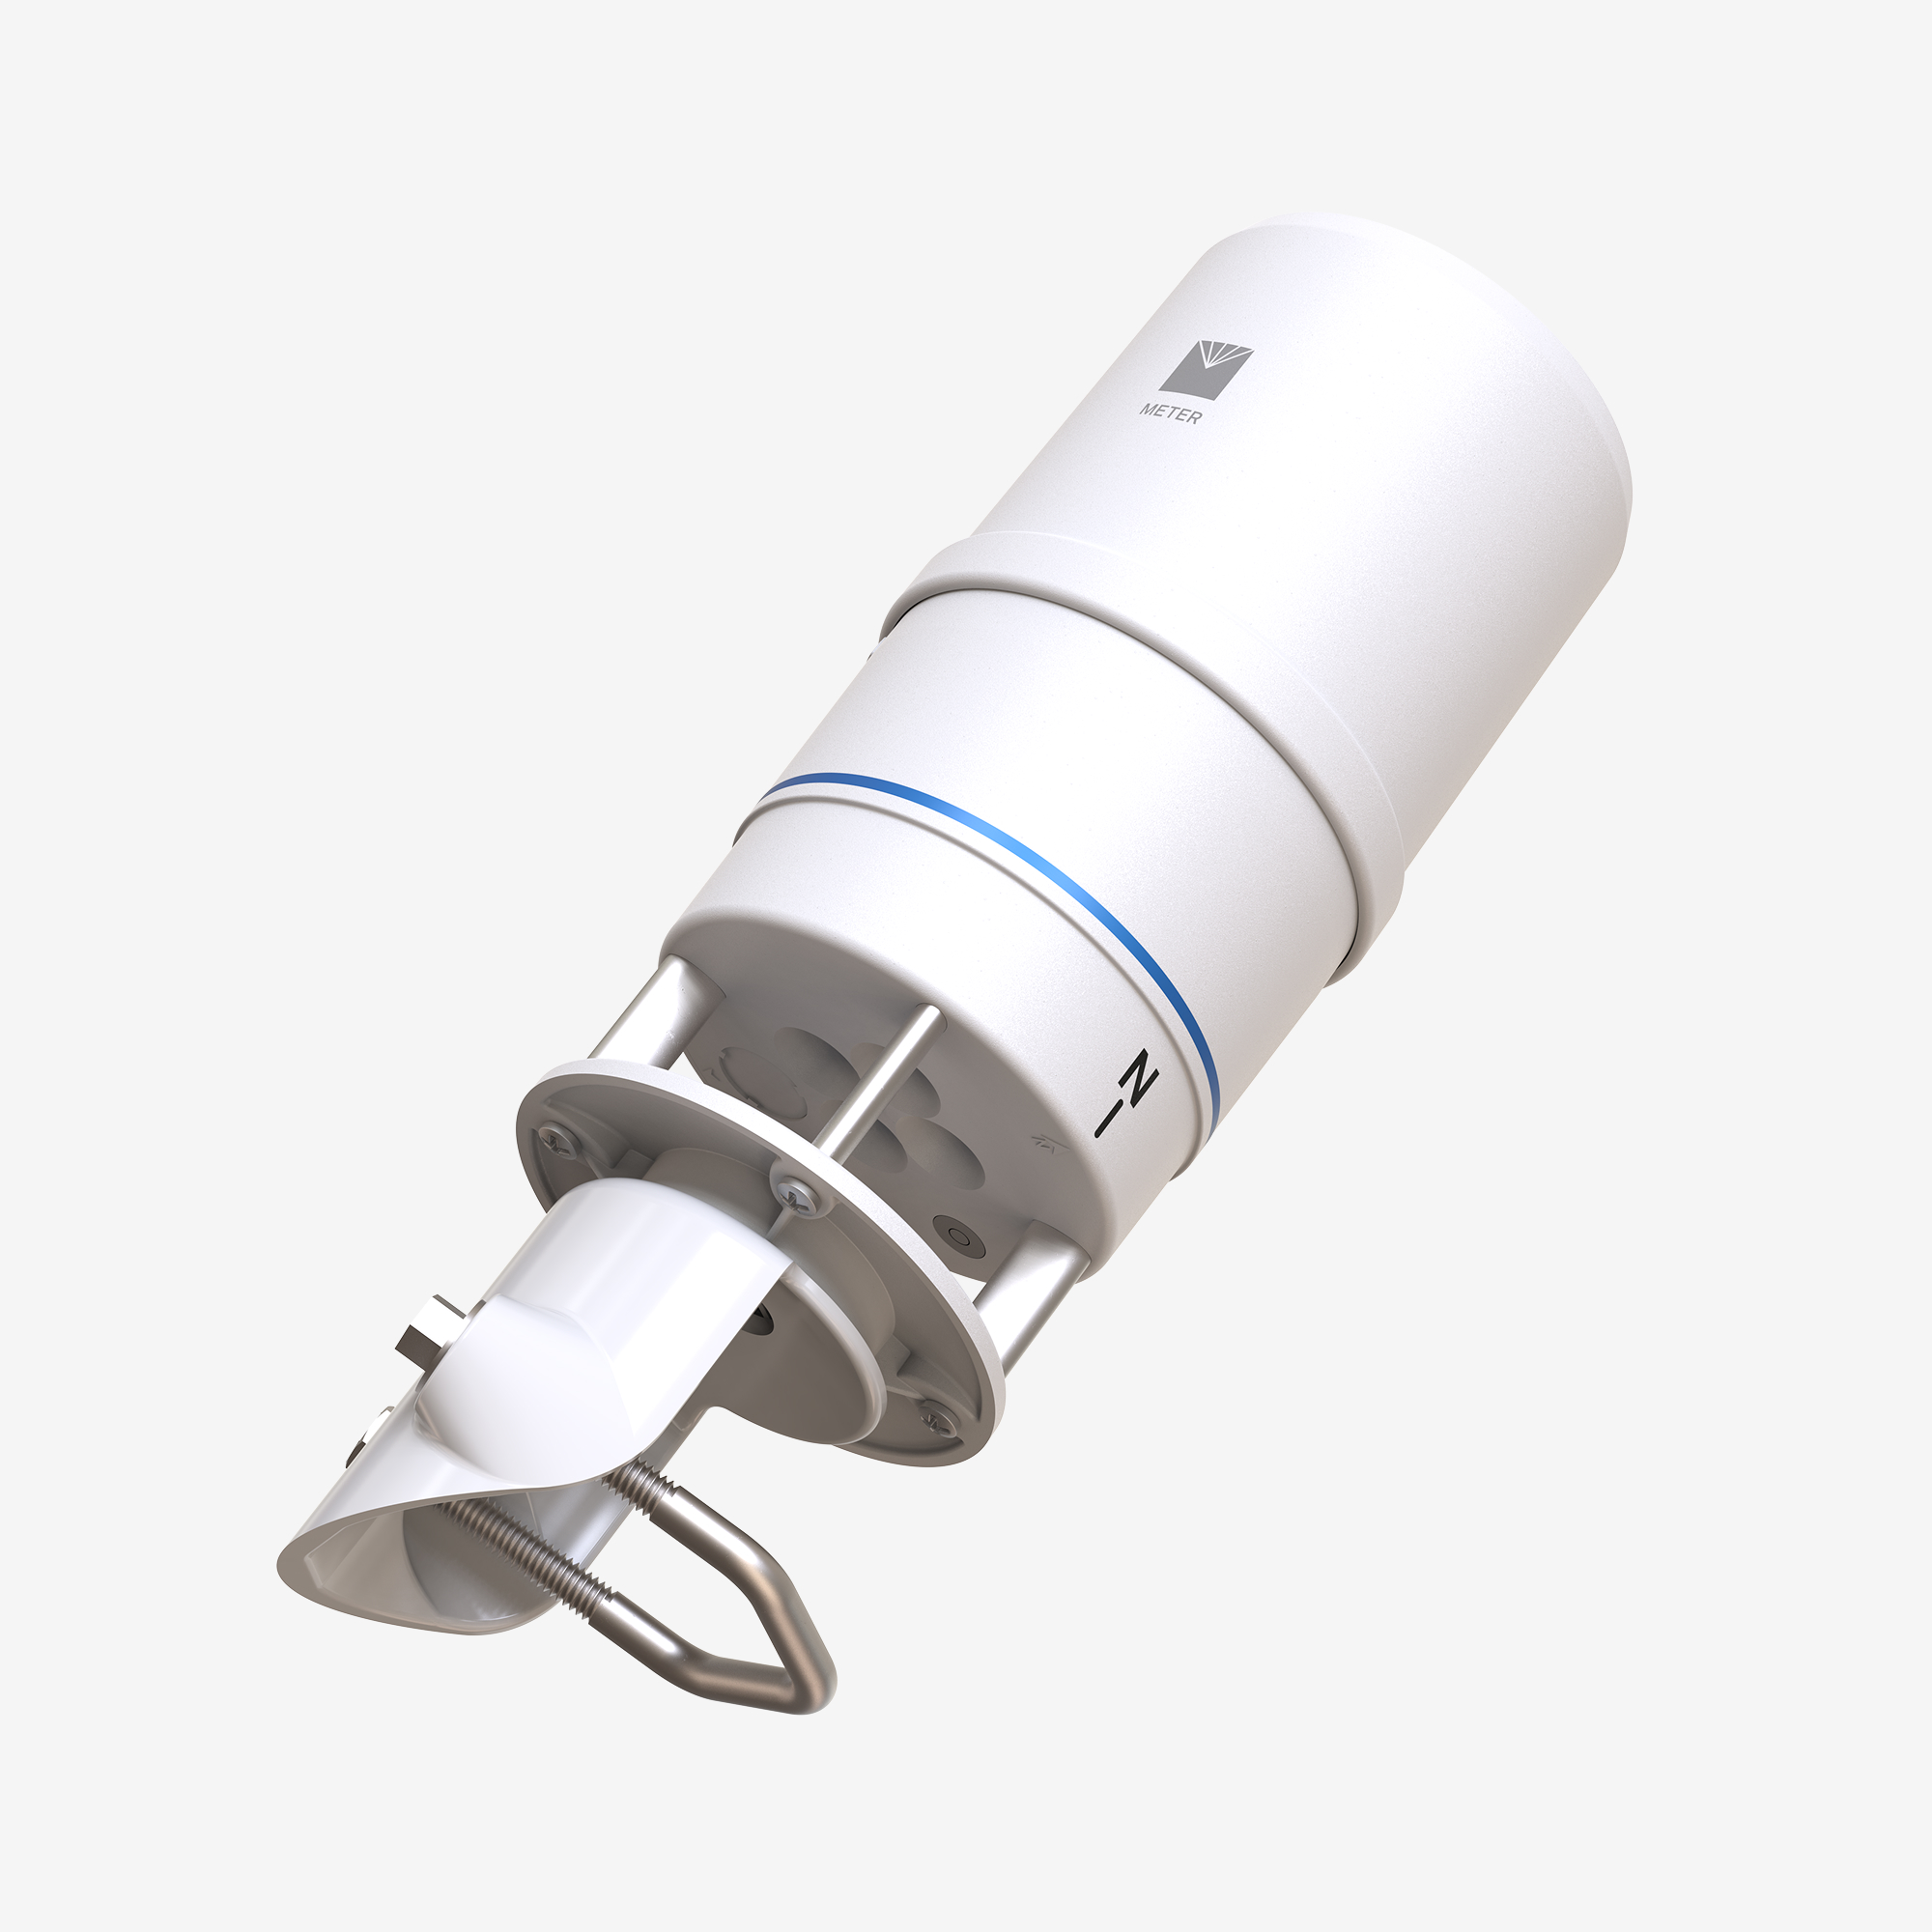
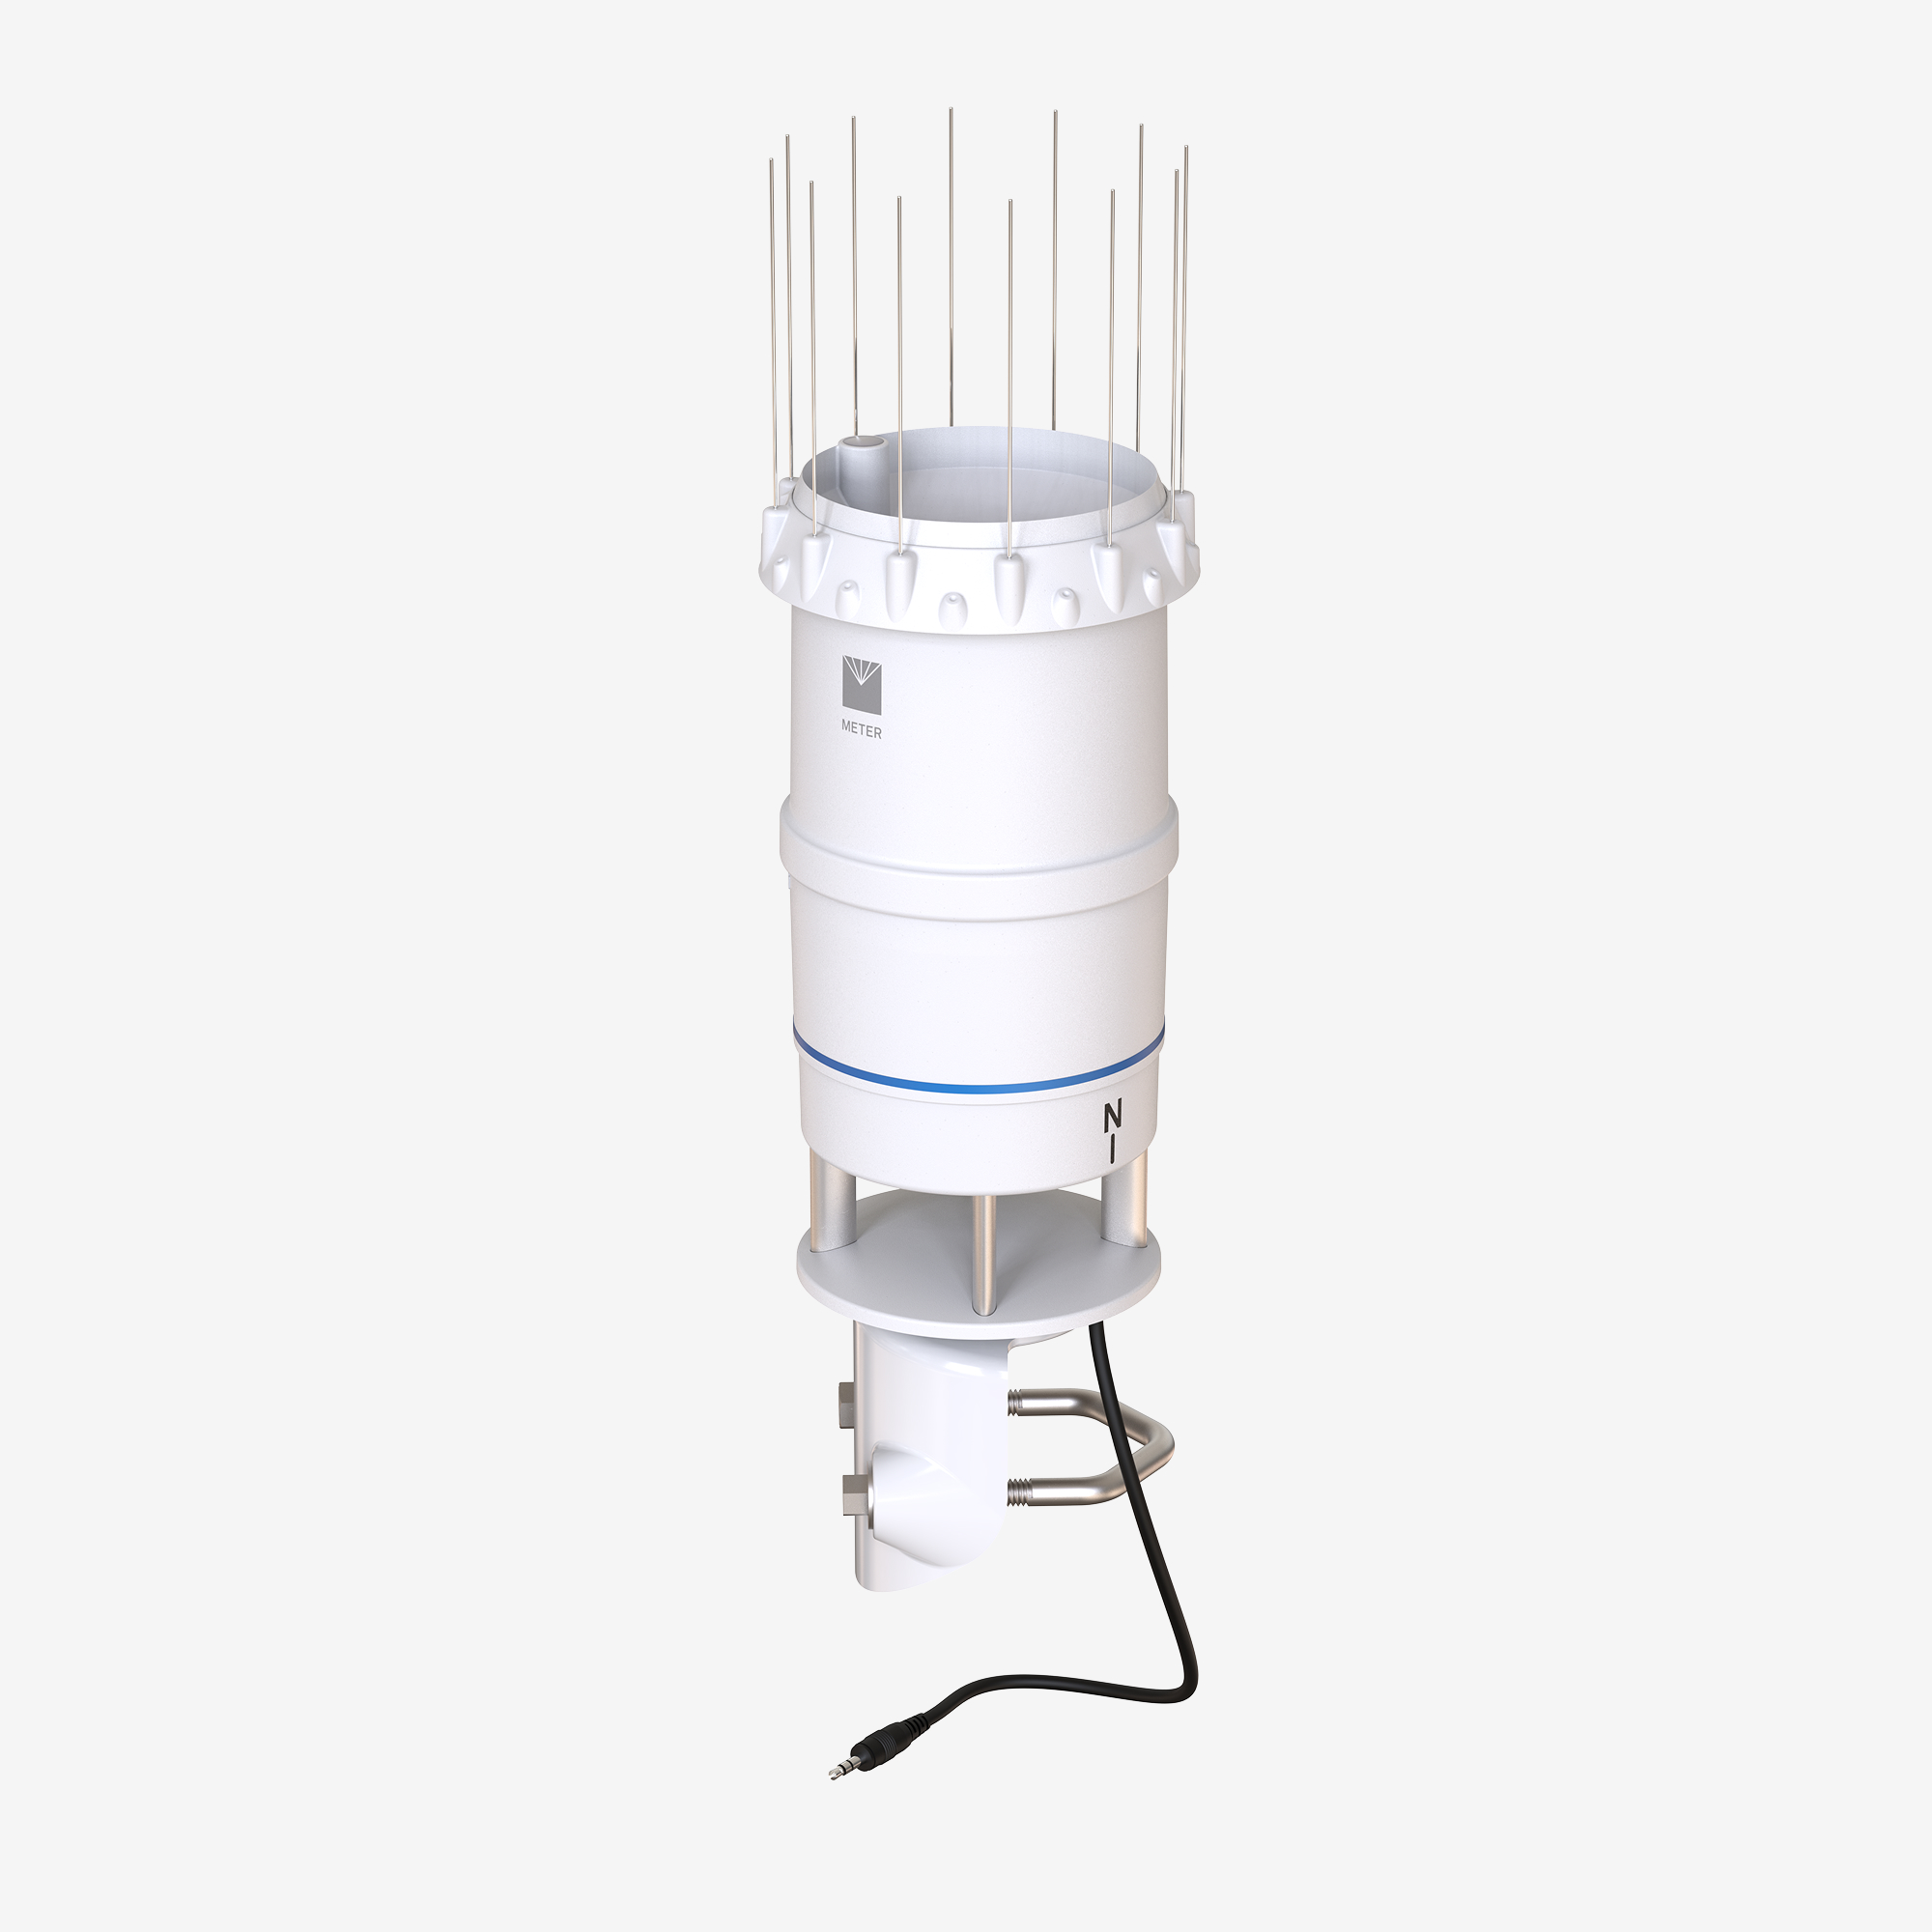
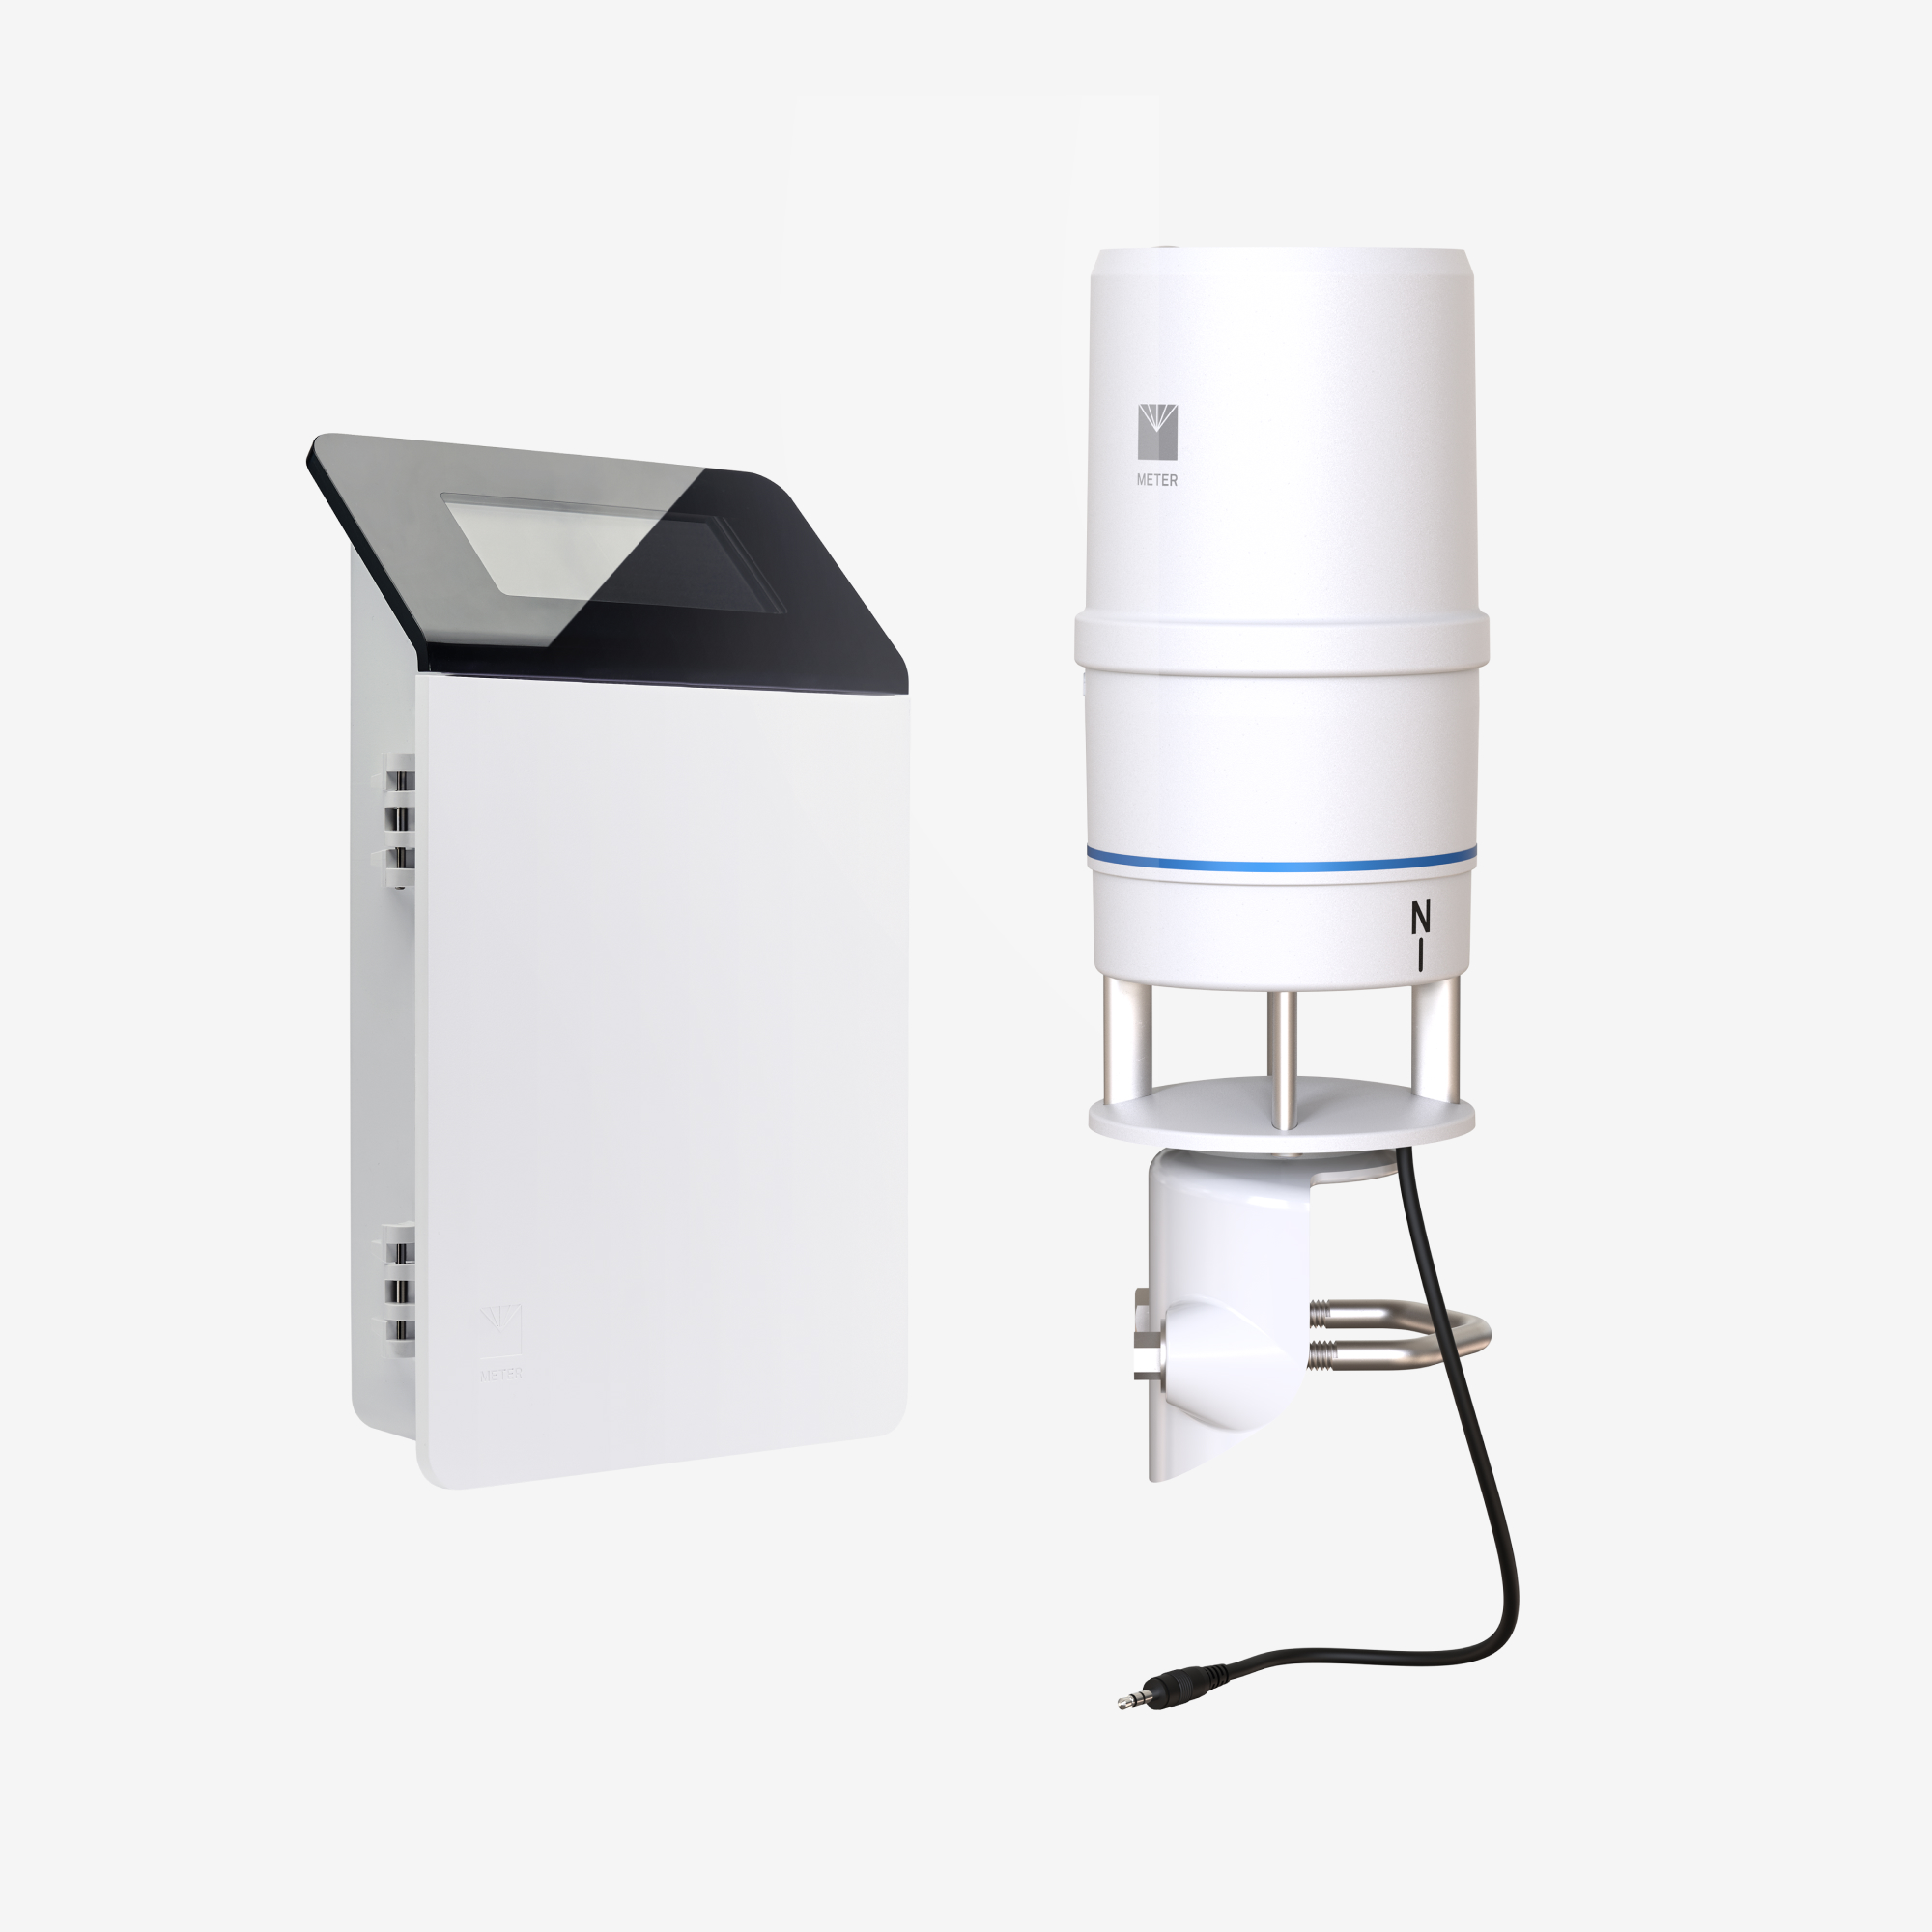
ATMOS 41
Downloads

ATMOS 41 FAQs

How do I clean the ATMOS 41?
Check out the video and instructions here.
How do I change ATMOS 41 Firmware?
Please contact support.
What are some tips for a good ATMOS 41 installation?
  1. Location: Make sure the location you choose will give you answers to the questions that you want answered. If you’re looking for general weather monitoring, make sure the location is far (at least 3X height of tallest obstruction) from any obstructions to wind. Make sure the vegetation is representative, and make sure the topographical location is representative. Rooftops are pretty bad generally, as are deep valleys or hilltops. If you’re looking for reference ET, you’ll want to deploy in the field with at least a few meters of crop on all sides of the installation. Also make sure that nothing is going to shade the solar radiation sensor.
  2. Height: A lot of groups mount the ATMOS 41 at 2 m height, because this is the norm for reference evapotranspiration. Others go higher for meteorological observations. Some even deploy in the canopy for specialized research questions. You can deploy easily at whatever height you want as long as you have the right mounting apparatus.
  3. Mounting apparatus: The ATMOS 41 is designed to mount on a vertical rod (see the user manual and quickstart guide for exact dimensions). It is often deployed on a vertical pole anchored by either guy wires or by a good-quality tripod. Some even mount on T-posts, preferably with some guy wires to add stability.
  4. Level: This is important for the ATMOS 41.  You need to have it level to within 2 degrees in both the X and Y. There’s a bubble level underneath the rain funnel that you can see from below and use to get level. The ATMOS 41 also outputs x and y level as standard outputs, so you can make sure you’re within 2 degrees of zero. You’ll need to use the guy wires to pull the mounting apparatus level or add some shims to achieve proper level.
  5. Check the data flow before you leave the field: Take a laptop (or handheld device if you’re using the ZL6 data logger) and the right software to make sure all the connections are good and that your data acquisition system is recording and/or transmitting data properly. A good best practice is to set it all up in the lab or office first, troubleshoot any issues, and then go to the field.
  6. Always take a complete toolset: You never really know what you’re going to need when troubleshooting unique situations.
  7. Tidy up the wires: The single biggest failure mode for environmental sensors is the wiring. Zip tying extra wire to the mounting mast can keep it from getting snagged by animals or whipped around in windstorms and unplugged from the data logger. Protecting the wiring in a cage or other container is great if you have the ability to do so. Any of these things make the installation look more professional, which is an added bonus.
  8. For more info: Watch this webinar—7 Weather Station Installation Mistakes to Avoid.
Does the ATMOS 41 and ZL6 conform to the ASABE Automatic Agricultural Weather Stations Guidelines
From Table 1 of “Measurement and Reporting Practices for Automatic Agricultural Weather Stations“, the ATMOS 41 internal measurement sequence meets the sampling interval guidelines for the weather variables listed. The ZL6 data logger can be configured to report values each hour, as stated in Table 1; however, some min/max instantaneous values are not available when using the ZL6 for data acquisition and delivery. Consult the ATMOS 41 user manual for details on the output values processed in METER data loggers.
How frequently are measurements taken?
The ZL6 makes a measurement from each of the sensor ports in use every 60 s. However, the minimum measurement interval is five minutes for uploading data to ZENTRA Cloud. One-minute measurement interval is possible if you disable uploading data to ZENTRA Cloud, and these instructions are available upon request.

The ATMOS 41 measures the solar radiation and temperature once every 10 s and records the instantaneous values. When queried, the ATMOS 41 outputs the average of the instantaneous measurements since the last query.

The ATMOS 41 measures the wind speed and direction once every 10 s and records the instantaneous wind vector components. When queried, the ATMOS 41 outputs the average of the instantaneous measurements since the last query for wind speed and direction and the maximum instantaneous wind speed value for wind gust.

The anemometer samples every 10 s (or more often if requested for non-METER logger). The gust speed reported is the highest instantaneous wind speed measured during the selected averaging interval (must be >20 s or gusts will equal speed).

If using a non-METER logger, then the ATMOS 41 can be scanned every three seconds, but it is not necessary to oversample the ATMOS 41 and compute averages, accumulations, and maximums in external data systems because the ATMOS 41 has an internal measurement sequence [see the integrator guide for more information]. Less frequent sampling has the additional benefit of decreasing data acquisition systems and ATMOS 41 power consumption.
What is the highest resolution scan rate for the ATMOS 22 and ATMOS 41?
With the ATMOS 41 and the M command, using a non-METER data logger, you can make measurements every 3 seconds. With the ATMOS 22 and the M command, using a non-METER data logger, you can make measurements every 1 second. Consult the integrator guides for more information. Contact METER if your application requires more frequent measurements.
What is the footprint of the ATMOS 41 (i.e., what area does it cover)?
The ATMOS 41 is a microclimate sensor, so you should position it to be representative of the climate relevant to the research questions you are asking. FAO56 gives guidelines to the positioning and field size of sensors, so if you intend to use the sensor for reference ET, follow those guidelines. The footprint of a micro-meteorological measurement depends on the height of the sensor(s), the wind speed, and the sensible heat flux and is not a simple calculation.
Is there a bird deterrent that METER recommends for the ATMOS weather station?
METER offers a bird deterrent ring that slides snugly onto the ATMOS funnel.

See an image and installation instructions here.
Does the ATMOS 41 need to be powered continuously?
Yes. There isn’t a way to get meaningful data from the ATMOS 41 without powering it continuously and letting its internal measurement sequence operate. The ATMOS 41 could be powered up at a set interval, allowed to take the first set of measurements, and then those could be output. But this scheme would miss nearly all precipitation, nearly all lightning, and would grab a single, instantaneous value of wind speed and direction, which is almost meaningless considering the inherent variability in wind. One thing to note is that the ATMOS 41 has been designed specifically to use as little power as possible in normal continuous-power mode. The average current consumption is on the order of 200 micro-amps. Even if the non-METER data acquisition device runs on just a few AA cells, it should be able to sustain this power draw for a very long time.
What is the practical lower limit of the wind speed measurement for the ATMOS 22 and ATMOS 41?
The practical lower limit for wind speed is about 0.03 m/s for our sonic anemometer. This is much better than cup anemometers, for example, which struggle making measurements below 0.5 m/s at the minimum because of difficulty starting and stopping. Sonic anemometers can read five times lower than that, yet they don’t necessarily read absolute zero.
How do I assemble the anemometer mast?
The anemometer mast is suitable to mount METER’s above-ground sensors: ATMOS 41, ATMOS 22, ATMOS 14, PAR, PYR, IRT, SRS, PHYTOS 31, ECRN-100, ECRN-50, and ECT. For assembly, read: "Anemometer Mast Assembly Instructions."
How often should I send in my ATMOS 41 for recalibration?
The pyranometer and RH/barometer daughter board should be replaced every two years. You can replace these parts yourself. Prices and instructions are available. Or, you can request an RMA from METER Support and ship the instrument to METER for updating the pyranometer and RH/barometer daughter board.
Do you have a heater option for the ATMOS 41 to measure liquid water from hail and snow?
We do not have a heated version of the ATMOS 41 at this time. The model to correct for temperature based on the energy balance should be good in all situations in which the radiation and wind sensors can collect reliable data, however, being buried in snow and ice may impede the function of both. This sensor suite will certainly not be a universally great fit for all climates on earth. If the winter precipitation is critical for your study other instruments will be necessary.
Grounding and lightning protection suggestions for ATMOS 41
We expect that even at a two-meter height the ATMOS 41 is going to be a magnet for strikes. A nearby lightning rod might cause some small underestimation of solar radiation, but if it were even a meter away, that effect would be minimal (for affecting pyranometer measurements). So, a lightning rod would likely always be a good idea but certainly not convenient. The taller installations are more important to protect. For sensors installed below the ground surface, use these guidelines.
What type of pole should I mount the ATMOS to?
The ATMOS 41 and ATMOS 22 mounting type can be a meteorological stand, pole in cement, or tripod; 31.8 mm to 50.8 mm, 1.25” to 2.0” diameter. The ATMOS 41 is fitted with a V-bolt, allowing it to be mounted on top of most posts, poles, tripods, etc.

Tighten the bolts by hand, and then use a wrench to gently finish tightening the bolts, securing the ATMOS flat and tight against the top of the stand with a flat top. Shims may be needed at the top to level the unit if the pole is not level. CAUTION: Do not over-tighten the V-bolt. This will cause the plastic ATMOS bracket to break.

METER offers a low-cost anemometer mast that could be used to mount either the ATMOS 41 or ATMOS 22.
Installing the ATMOS 41 at high elevations
The ATMOS 41 performs well at high elevation (tested at 3100 m), but during cold seasons, it may get buried in snow, and it will not count the frozen precipitation. Also, when frozen, the anemometer section will probably fill up with ice and not read correctly until the ice melts.

METER doesn’t offer a heated rain gauge (or heated version of the ATMOS 41 sensor). If you are thinking about an external heater for the ATMOS 41, one challenge you’ll face is powering an external heater. The power budget of the METER data logger doesn’t have room for a heater.
How does the ATMOS 41 record an accurate air temperature without a radiation shield?
The ATMOS 41 collects all of the information necessary to correct for absorbed radiation in a biophysical model. Because the ATMOS 41 also measures wind speed and solar radiation, it is possible to use a simple energy balance calculation to correct the Tair measurement. After correction, error decreases to < 0.5 °C and yields better accuracy than commonly used passive ventilation radiation shields. The equation and experimental results are available in our application note.
With a pyranometer, how quickly could you catch a problem such as a bird soiling the instrument with a service like ZENTRA?
On a sunny day, within a few hours. On a cloudy day, it might take a few days.

GET SUPPORT

Need assistance?

Our experts are ready to help.

icon-angle icon-bars icon-times