ATMOS cleaning instructions

Video: ATMOS 41 cleaning instructions

Our application experts demonstrate how to correctly clean the ATMOS 41 all-in-one weather station.

Also see:

Cleaning instructions for ATMOS 41 funnel and downspout

METER suggests checking the condition of the ATMOS 41 weather station annually, and more frequently when needed. For example, the pyranometer weather sensor needs more frequent checking. The instructions below are guidelines for cleaning the ATMOS 41 funnel and downspout, pyranometer sensor, sonic anemometer, and body. Consult the manual for more information.

  1. Disconnect ATMOS 41 from the data logger.
  2. Remove ATMOS 41 from the mounting post.
  3. Remove bird deterrent if one is installed. This is removed by pushing up on the under-side of the plastic ring. Push up with your thumbs on opposite sides to wiggle the ring up and off.


A photograph of bird spikes installed on the top of an ATMOS 41


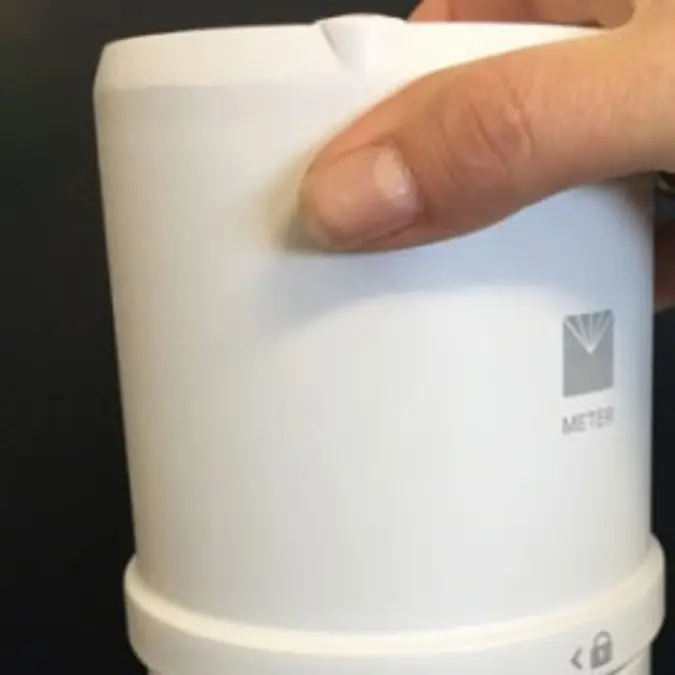
4. Unlock the funnel by pushing down and turning counter-clockwise.


A photograph of someone screwing off the covering for an ATMOS 41


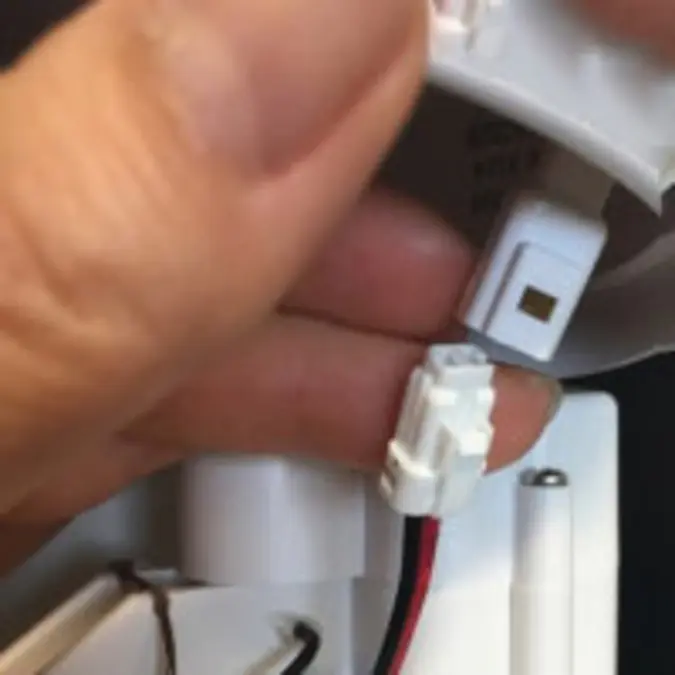
5. Disconnect the PYR cable.


A photograph of someone disconnecting the PYR cable


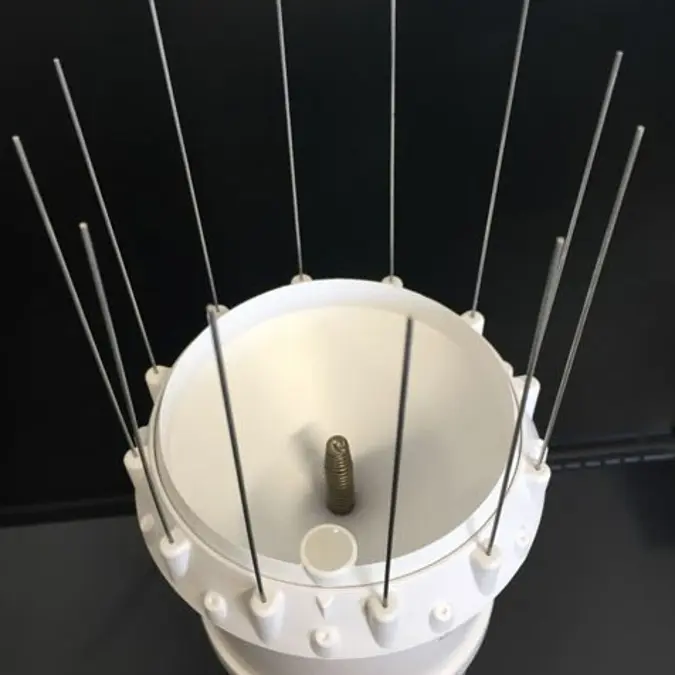
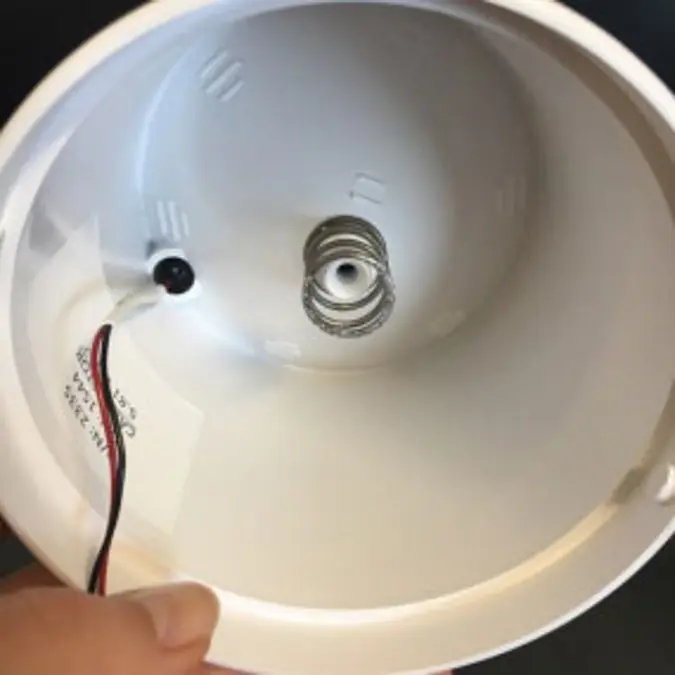
6. Remove spring from the top of the funnel.


A photograph of the spring in the top of the funnel


7. Remove spring from the bottom of the funnel.


A photograph of the spring in the bottom of the funnel


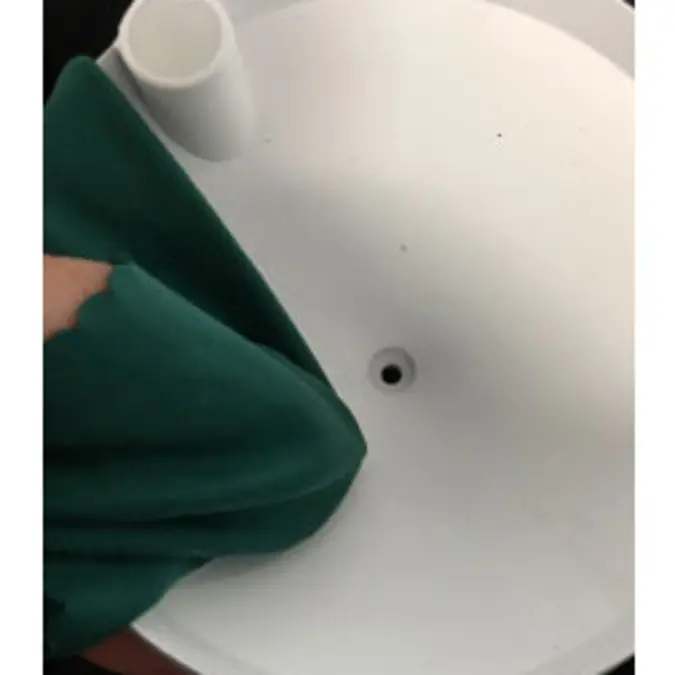
8. Use a clean, damp cloth to wipe out the funnel. Clear out all dust and debris.

CAUTION: Do not wipe the pyranometer sensor with an abrasive cloth.


A photograph of someone using a clean, damp cloth to wipe out the funnel.


9. Then, use a cleaning swab to clean the nozzle. The swab should be small enough to go inside the nozzle to clean out debris.


A photograph of someone using a cleaning swab to clean the top of the nozzle
A photograph of someone using a cleaning swab to clean the bottom of the nozzle
A photograph of someone using a cleaning swab to clean the inside of the nozzle


10. Check the gold-plated electrodes for dirt/debris. Gently clean gold-plated electrodes if needed.


A photograph of someone checking the gold-plated electrodes for dirt/debris


11. Clean downspout and screen.


A photograph of someone cleaning the downspout and screen


12. After cleaning is complete, re-attach the springs, PYR cable, funnel, and bird deterrent.

13. Mount the ATMOS 41 and level it.

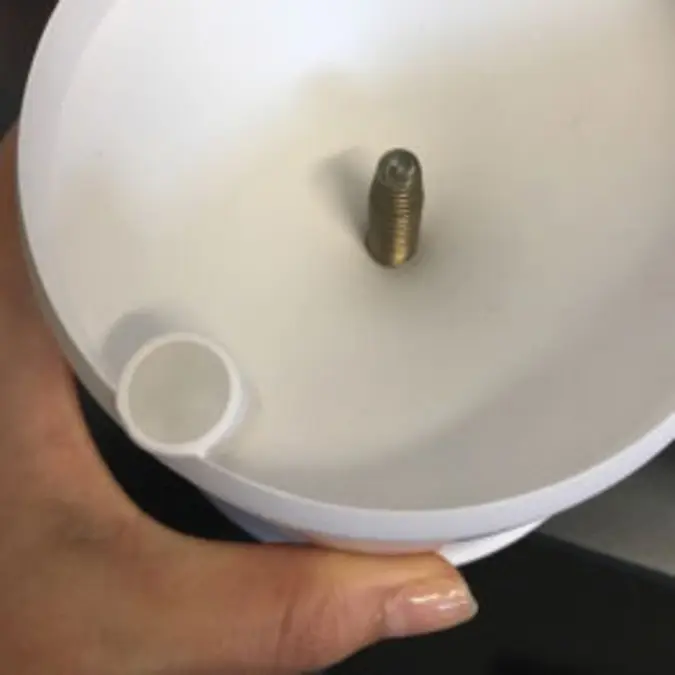
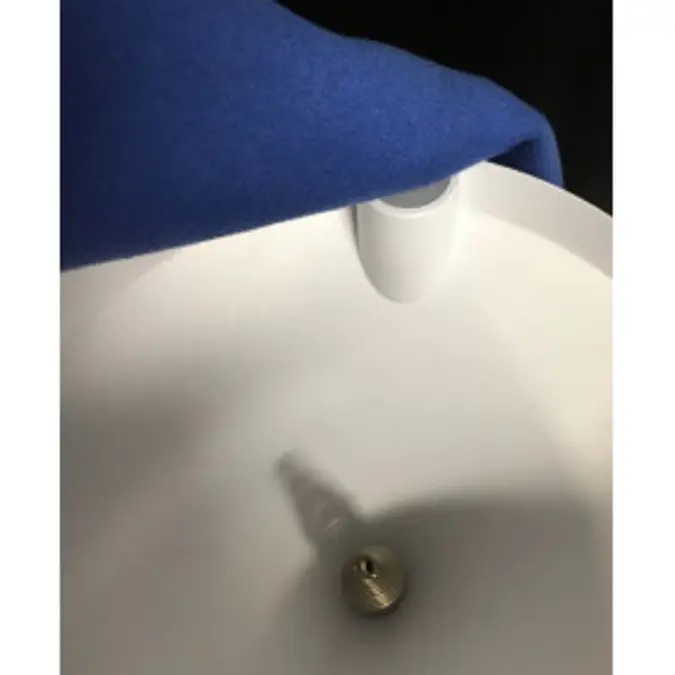
14. The ATMOS 41 must be within approximately ±2 degrees of dead level (0, 0) in both the X and Y directions to accurately measure rainfall. If not within this range, drops from the flared hole can miss the gold electrodes entirely.

15. Reconnect ATMOS 41 to the data logger.

Cleaning instructions for ATMOS 41 pyranometer sensor
  1. Check the pyranometer sensor regularly to make sure it is clean, and check data often to identify possible problems. Isopropyl (rubbing) alcohol and a Q-tip work well for cleaning the sensor area. Microfiber bags work well, too. Do NOT use an abrasive cloth on the sensor surface as it will scratch the pyranometer sensor.
  2. Using a dry lens cloth (or other soft cloth), gently wipe the ATMOS 41 pyranometer to clean dust off the sensor.
  3. If there is more debris than light dust on the sensor (such as bird droppings), then moisten a portion of a lens cloth with clean water, and gently wipe off all debris.

a. Use a dry part of the lens cloth to dry off the pyranometer.

A photograph of someone using a dry part of the lens cloth to dry off the pyranometer


Cleaning instructions for ATMOS 41 sonic anemometer

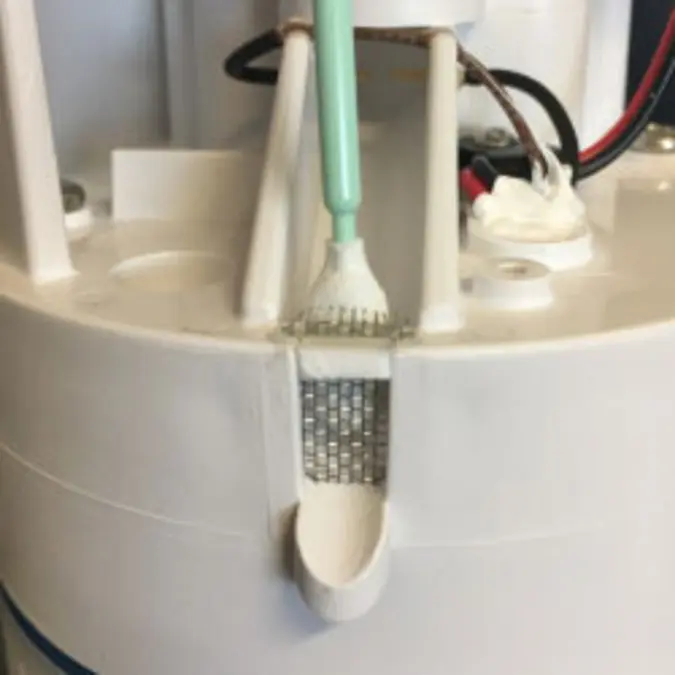
1. Use a damp or dry cloth to wipe off dust/debris on top of the acoustic plate.

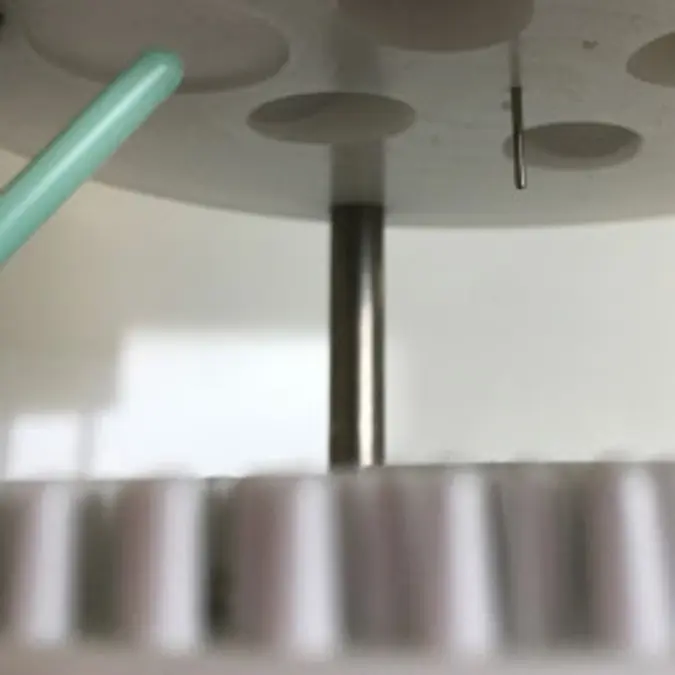
CAUTION: Do not touch or bend the metal temperature sensor during the cleaning process because it is very delicate and can be damaged.


A photograph of someone using a damp or dry cloth to wipe off dust/debris on top of the acoustic plate


2. Use a damp or dry cloth to wipe off cobwebs or other materials that could obstruct wind passing through the sonic anemometer.


A photograph of someone using a damp or dry cloth to wipe off cobwebs or other materials that could obstruct wind passing through the sonic anemometer


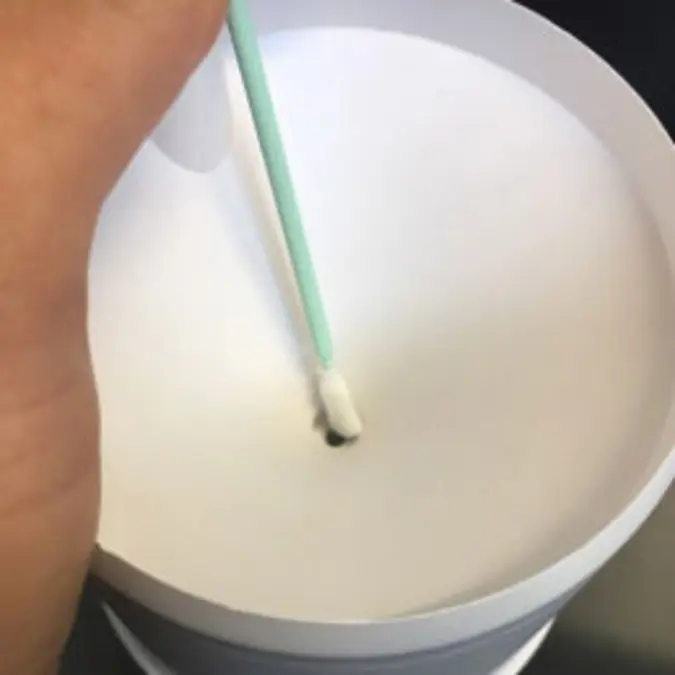
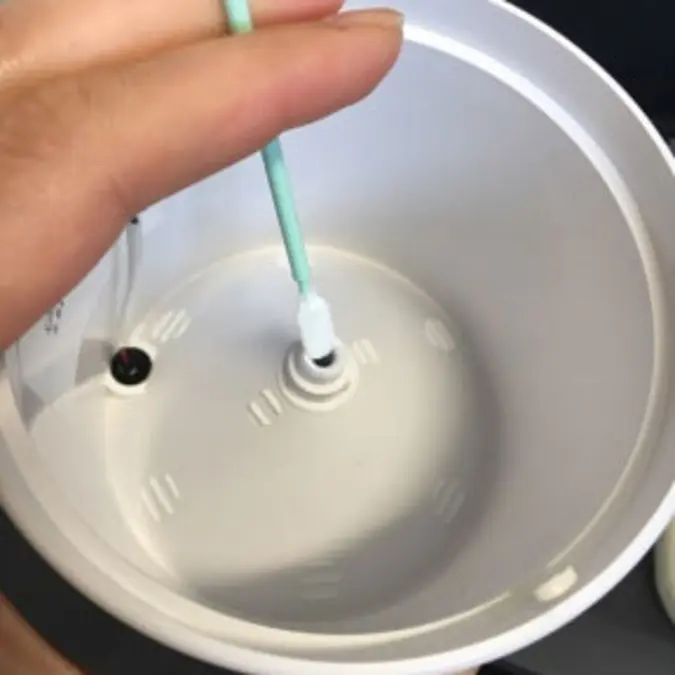
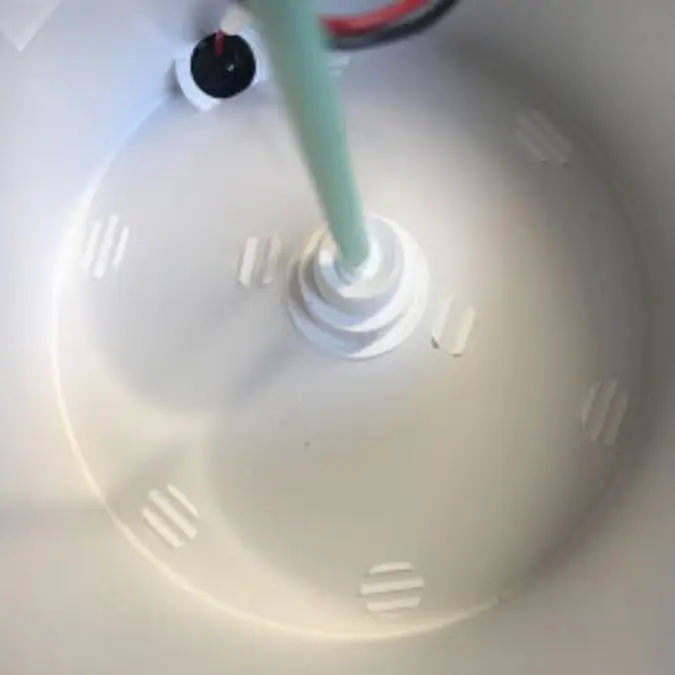
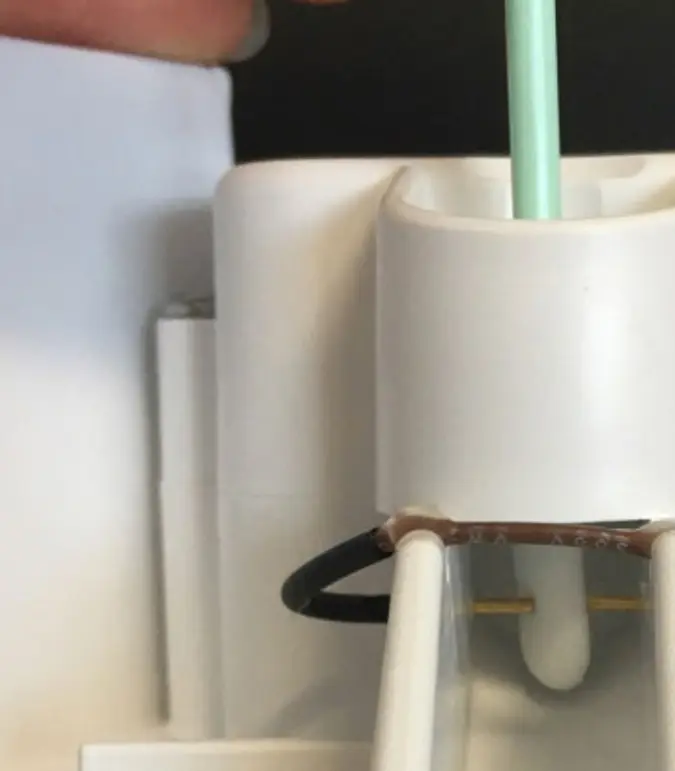
3. Use a dry or damp swab to gently clean the offices and covers of the sonic transducers. Avoid more than light pressure on the covers.


A photograph of someone using a dry or damp swab to gently clean the offices and covers of the sonic transducers


Cleaning instructions for ATMOS 41 body
  1. Scrub the ATMOS 41 body with light to medium pressure using a damp cloth (a warm damp cloth is best).

CAUTION. Do not immerse the sensor suite in water.


A photograph of someone scrubbing the ATMOS 41 body with light to medium pressure using a damp cloth


2. Clean around posts and between crevices using a dry brush. It is not necessary to brush between ridges in the splash guard.


A photograph of someone cleaning around posts and between crevices using a dry brush


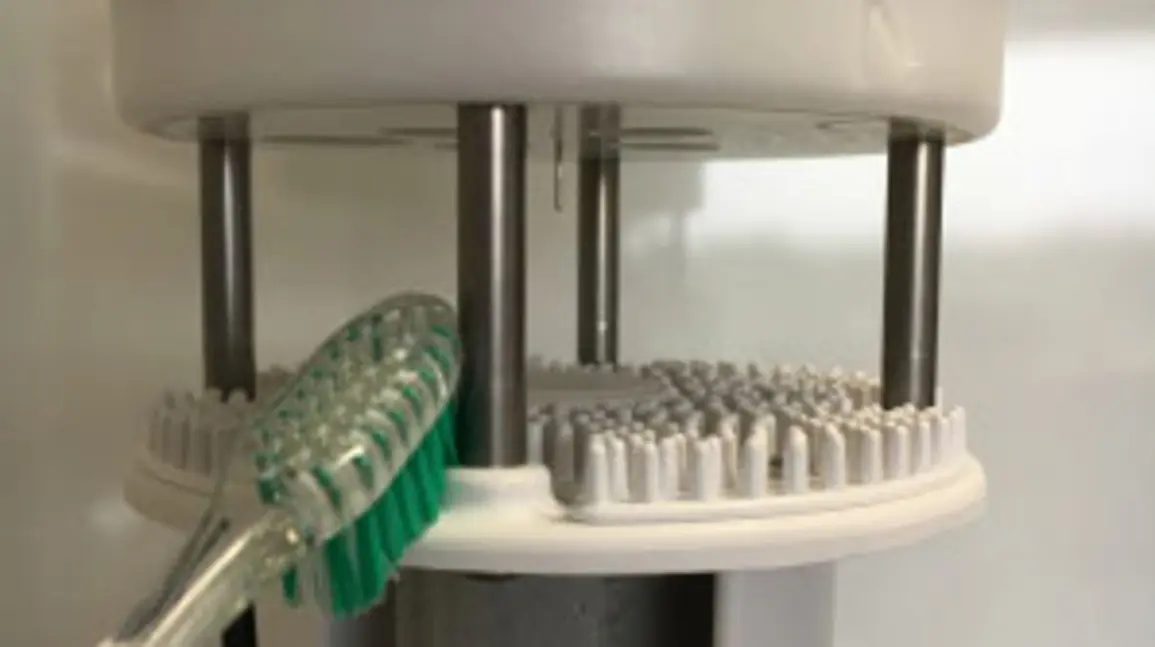
3. Observe the Teflon screen to see if it is dirty. If the Teflon screen is dirty, it is best to replace it. Contact METER for information.


A photograph of someone inspecting the Teflon screen to see if it is dirty


Explore why the ATMOS 41 weather station is right for you.

Questions?

Our scientists have decades of experience helping researchers and growers measure the soil-plant-atmosphere continuum.

Expertise library

See all guides

Video: Instructions for swapping ATMOS 41 daughter board—RH/temperature/barometric pressure sensors

In this video, our application experts show how to replace an ATMOS 41 daughter board—RH/temperature/barometric pressure sensor.

READ

Remote weather stations & weather instruments: Best practices for higher quality data

An in-depth look at seven basic steps you'll want to think about as you set up your weather station to obtain the highest quality weather data.

READ

Video: WP4C Cleaning video

Learn how to clean and verify the WP4C dew point hygrometer.

READ

Case studies, webinars, and articles you'll love

Receive the latest content on a regular basis.


icon-angle icon-bars icon-times