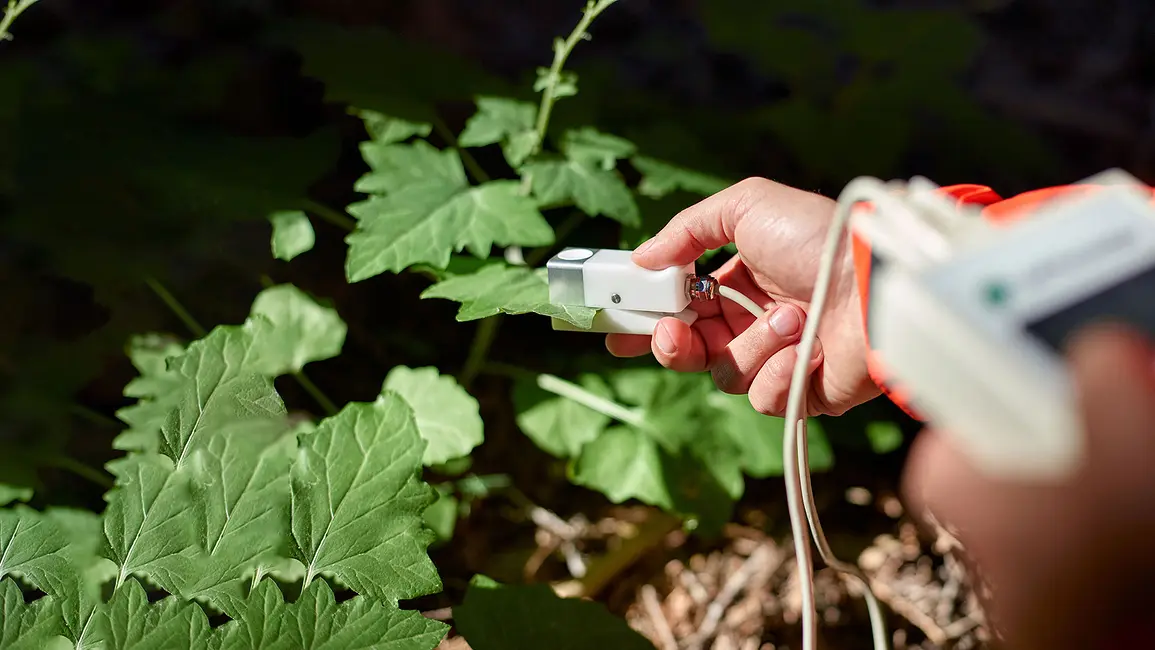
Watch this video, or read the instructions below to learn how to calibrate the METER SC-1 Leaf Porometer. To obtain a calibration kit, contact support.
For more information, see the SC-1 User’s Manual
How often should the leaf porometer be calibrated?
- Every day and
- If environmental conditions change more than 15 ℃
Precautions
- DO NOT get water on the leaf porometer clip. If this happens, be sure to dry thoroughly before calibrating or making a measurement.
- DO NOT get fingers near Teflon filter on leaf clip during calibration or measurement.
- NEVER breathe or blow on the sensor.
Before starting
1. Calibrate the porometer under field conditions.
2. The leaf clip must be in thermal equilibrium with the environment. This may take 10 minutes or more if the clip starts at a very different temperature (e.g., air-conditioned vehicle or office).
3. Assemble a complete calibration kit:
- calibration plate
- filter paper
- distilled water
- tweezers
Calibrating the sensor
1. Use the “Menu” button to select the Configuration menu. Select the Calibration submenu and then Calibrate.
2. Enter sensor serial number found on cable tag.
3. Close sensor head and wave in air to mix air in sensor head.
4. Wetting the filter paper correctly is critical to a good calibration. The filter paper must be wet but have no excess water.
- Saturate filter paper with DI water from dropper bottle.
- Using tweezers, give the filter paper a sharp flick of the wrist or two to knock off any excess water.
- Once the filter paper is wet, DO NOT rewet during the calibration.
- If the filter paper dries and falls off the calibration plate, re-wet and restart the calibration at the beginning.
- See user manual and online video for more detailed information on wetting the filter paper correctly.
5. Lay the filter paper over the hole in the calibration plate on the side marked “Filter Paper”.
- The filter paper must lay flat across the hole.
- The filter paper must cover the entire hole.
- Check to make sure that no water wicks into the hole from the filter paper.
6. Attach sensor head.
- Moist filter must be in place and flat.
- Orient calibration plate with “Metal Block” toward the aluminum side of the leaf clip.
- Calibration plate must be inserted until aluminum block seats firmly against hard stop.
7. Match RH sensors.
- Matching takes 3 minutes.
- Do not remove calibration plate during matching.
- Do not set sensor head upside down. The water vapor must be able to diffuse freely to the desiccant chamber. Set the porometer head on its side, or hold it.
8. Calibration measurements
- Follow instructions in #6 above to attach sensor head.
- 30-second measurement will start.
- Hold the sensor head still, or set it down during the 30-second measurements.
- When the measurement is finished, equilibrate (#8 above), and reattach sensor head (#6 above) to start another calibration measurement.
- Repeat the calibration measurement up to 10 times until stable measurements are achieved.
- The leaf porometer will produce an alert when the calibration is complete.
- If ten calibration measurements are taken and don’t achieve stable readings, see calibration chapter in user manual for troubleshooting tips.
9. Accuracy verification
- It is always a good idea to verify that the calibration was effective. To do this, go to the measurement menu and make a measurement on the calibration plate. The verification should be conducted immediately after the calibration has finished, and without re-wetting the filter paper. The measured conductance should be between 220 and 260 mmol m-2 s-1. For calibration issues, try fresh desiccant, and repeat the calibration process.
Questions?
Our scientists have decades of experience helping researchers and growers measure the soil-plant-atmosphere continuum.

