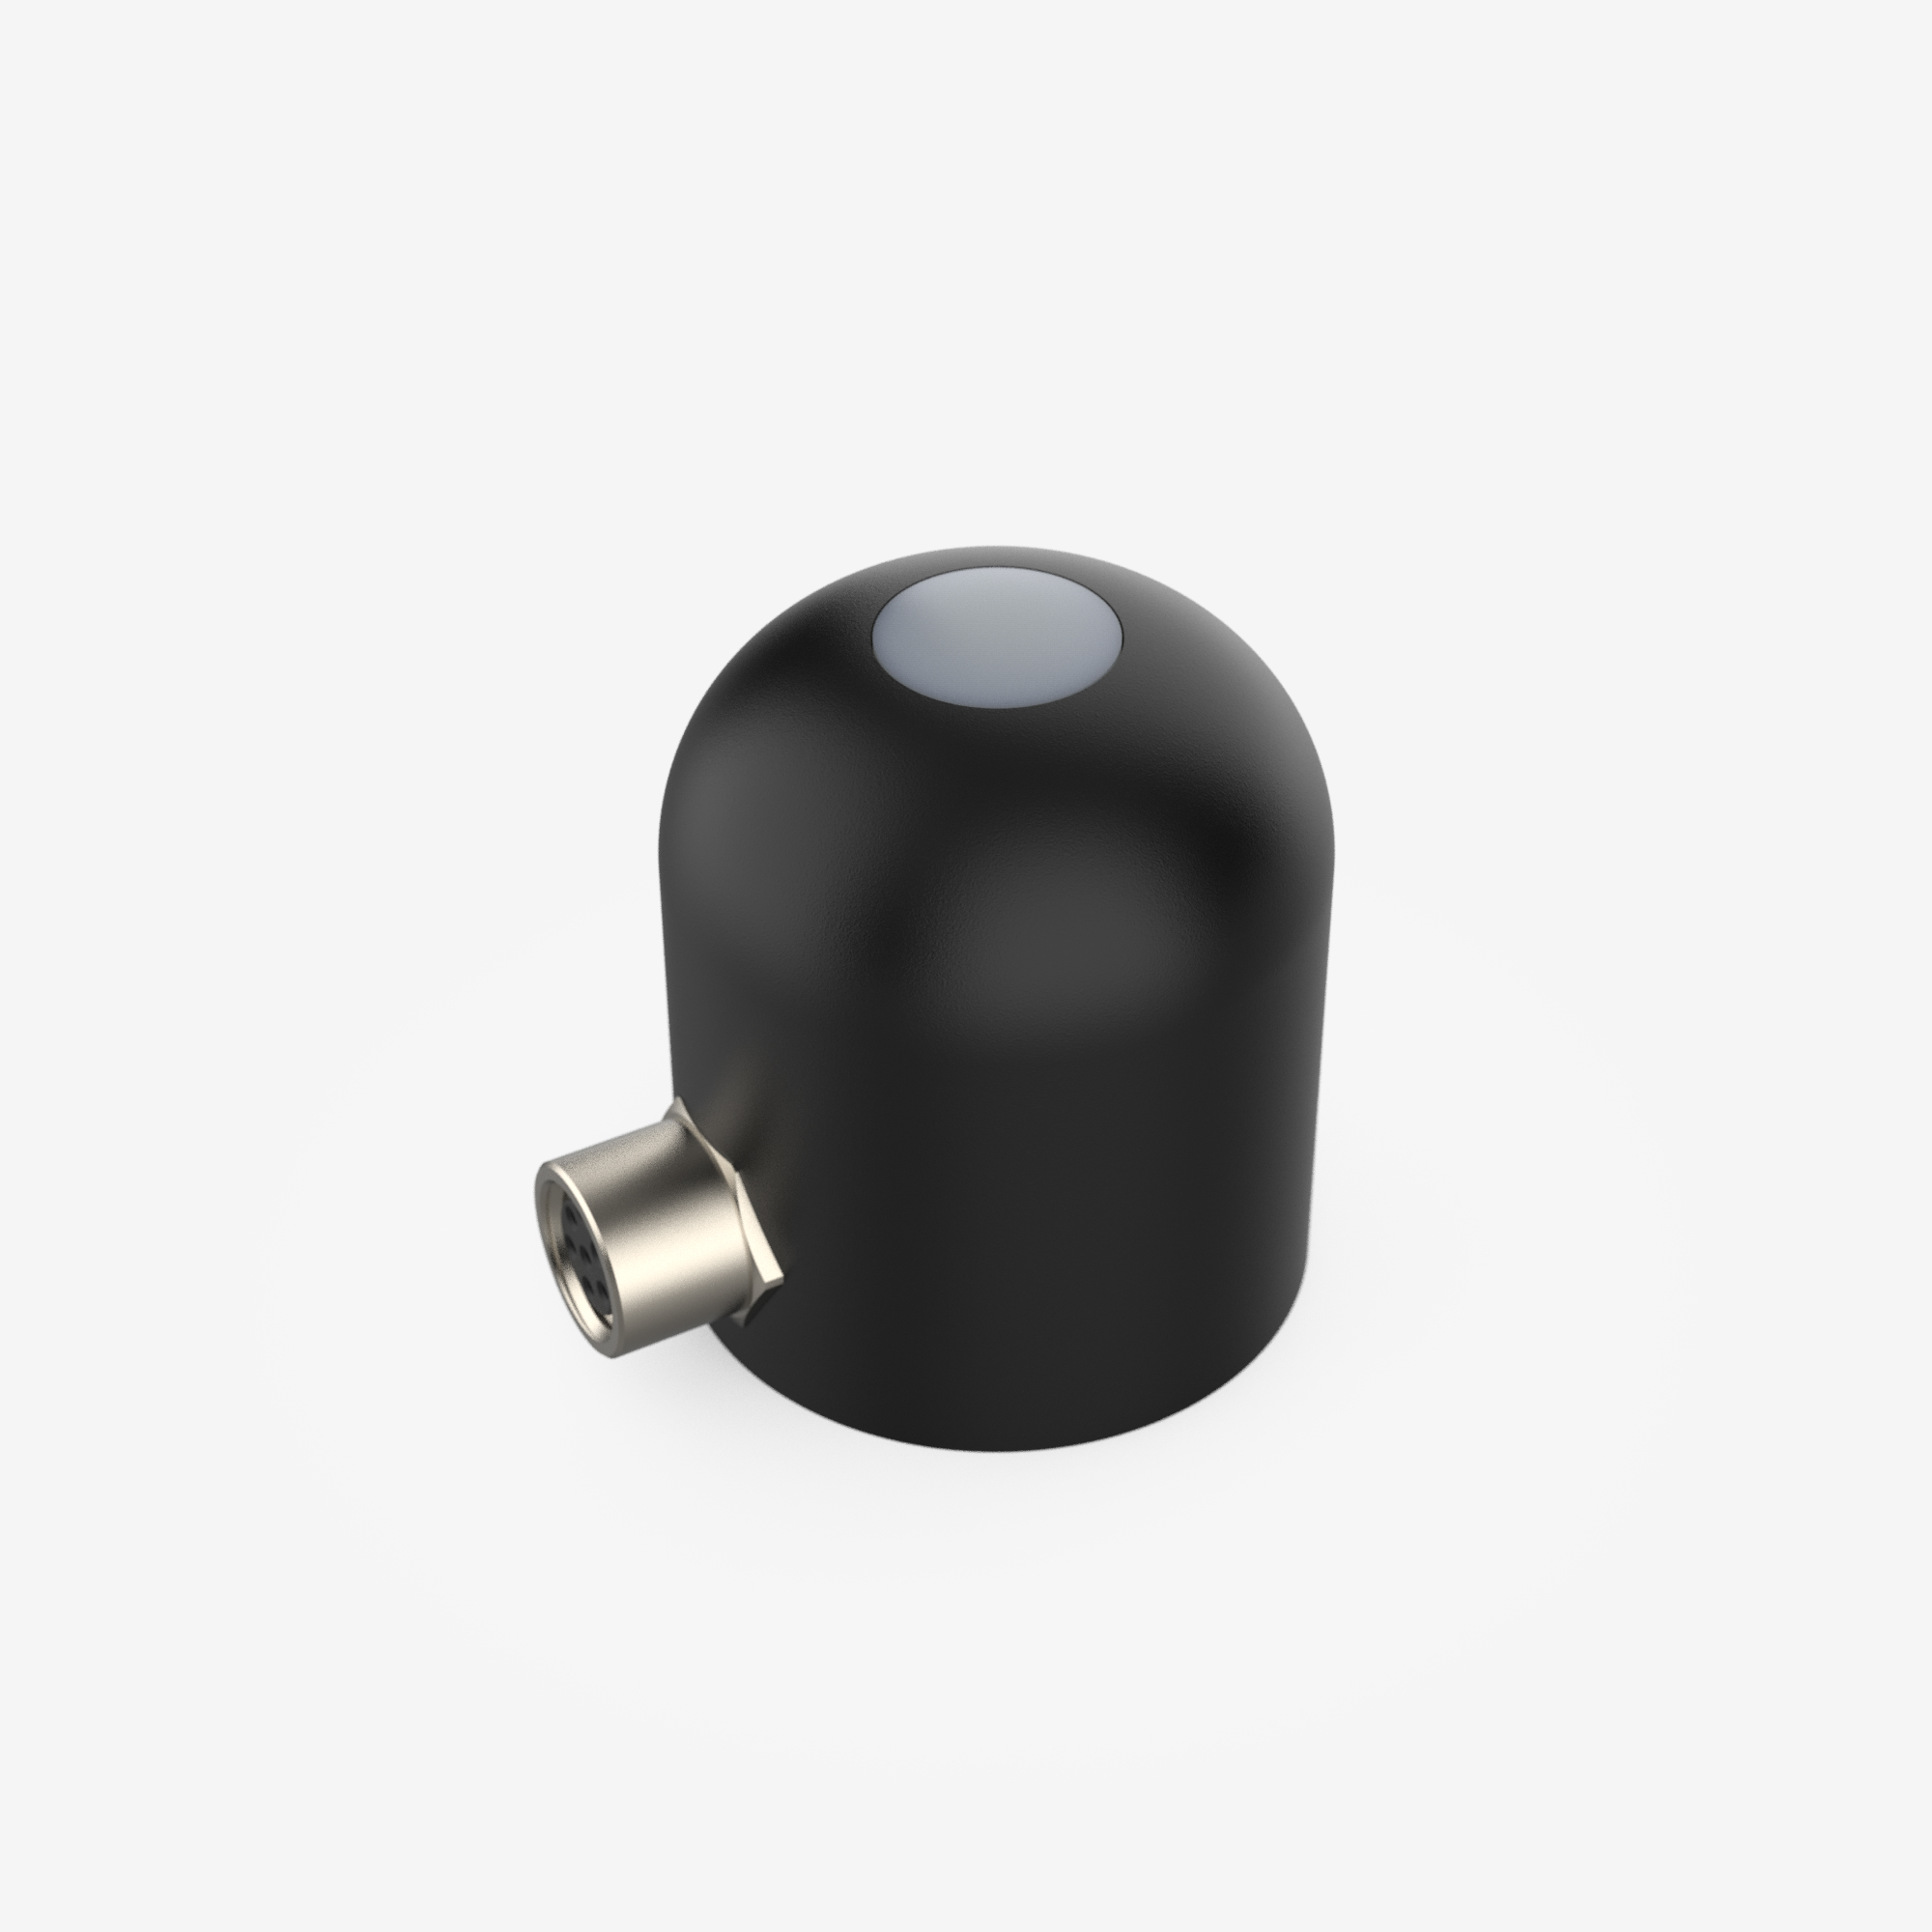
PYR Sensor
Easy-To-Use Pyranometer

PYR Sensor

Request A Quote

Measure total solar radiation

The PYR  total solar radiation sensor (pyranometer) measures the solar radiation flux density (in watts per meter squared) from a field of view of 180 degrees.

Weatherproof for long-term use

The sensor is designed for continuous outdoor use and is completely waterproof and submersible.

Accuracy

Accurate measurement depends on the cleanliness of the lens and installation of the sensor at horizontal (180°). The sensor head has a domed diffusion disk to reduce the need for frequent cleaning. A leveling plate is included for accurate installation.

METER is trusted by

University of Idaho
Brigham Young University
Temple University
Campbell Scientific

Request A Quote

Specifications

Spectral Range 380 – 1120 nm
Accuracy ± 5%
Resolution N/A
Field of view Hemispherical, 180°
Measurement range 0 to 1,750 W m-2 (0 – 350 mV)
Calibrations and conversions Sensors are calibrated for outside use
5.0 W m-2 per mV
Calibrations and conversions -40 to +60 °C
Cable length 5 m
Cable connector types 3.5 mm “stereo” plug
Sensor dimensions 2.4 cm x 2.75 cm (0.95 in x 1.1 in)
Data logger compatibility (not exclusive) METER Em50/50G, EM60 series, ZL6 series, ZSC, ProCheck
Warranty One year, parts and labor

FAQs

Can PAR be estimated from total shortwave radiation?
It is better to measure PAR and total shortwave radiation (PYR); however, PAR can be estimated from total shortwave radiation by using a physically based model.
How do I know when my PYR or PAR needs to be recalibrated?
Use the Apogee Clear Sky calculator. The primary use of this calculator is to determine the need for recalibration of radiation sensors. It is most accurate when used near solar noon in the summer months.
How do I mount the leveling plate to the mounting bracket?
You can find PAR/PYR installation instructions in the quick start guide and on page 9 of the manual. On the leveling plate, the outer screws (with threads in the plate) are for leveling, and the inner screws (no threads) are used to secure the leveling plate to the mounting bracket. First, securely install the mounting bracket to a post, considering the optimal position for collecting accurate solar radiation data. Orient the sensor cable as described in the quick start and manual.
  1. Screw in the inner screws part of the way, to secure it to the mounting bracket.
  2. Screw in the outer screws until the bubble level indicates the leveling plate is level.
  3. Screw in the inner screws to completely secure the leveled leveling plate to the mounting bracket.
  4. Remove the green cap after installation is complete.
How do I assemble the anemometer mast?
The anemometer mast is suitable to mount METER’s above-ground sensors: ATMOS 41, ATMOS 22, ATMOS 14, PAR, PYR, IRT, SRS, PHYTOS 31, ECRN-100, ECRN-50, and ECT.  For assembly, read: "Anemometer Mast Assembly Instructions."

A photo of the PYR sensor pyranometer

Request a quote

Fill out the form below to help us pair you with the right expert. We’ll prepare the information you request, then contact you as soon as possible.


icon-angle icon-bars icon-times